Log user feedback
Logging user feedback and scoring traces is a crucial aspect of evaluating and improving your agent. By systematically recording qualitative or quantitative feedback on specific interactions or entire conversation flows, you can:
- Track performance over time
- Identify areas for improvement
- Compare different model versions or prompts
- Gather data for fine-tuning or retraining
- Provide stakeholders with concrete metrics on system effectiveness
Logging user feedback using the SDK
You can use the SDKs to log user feedback and score traces:
Annotating Traces through the UI
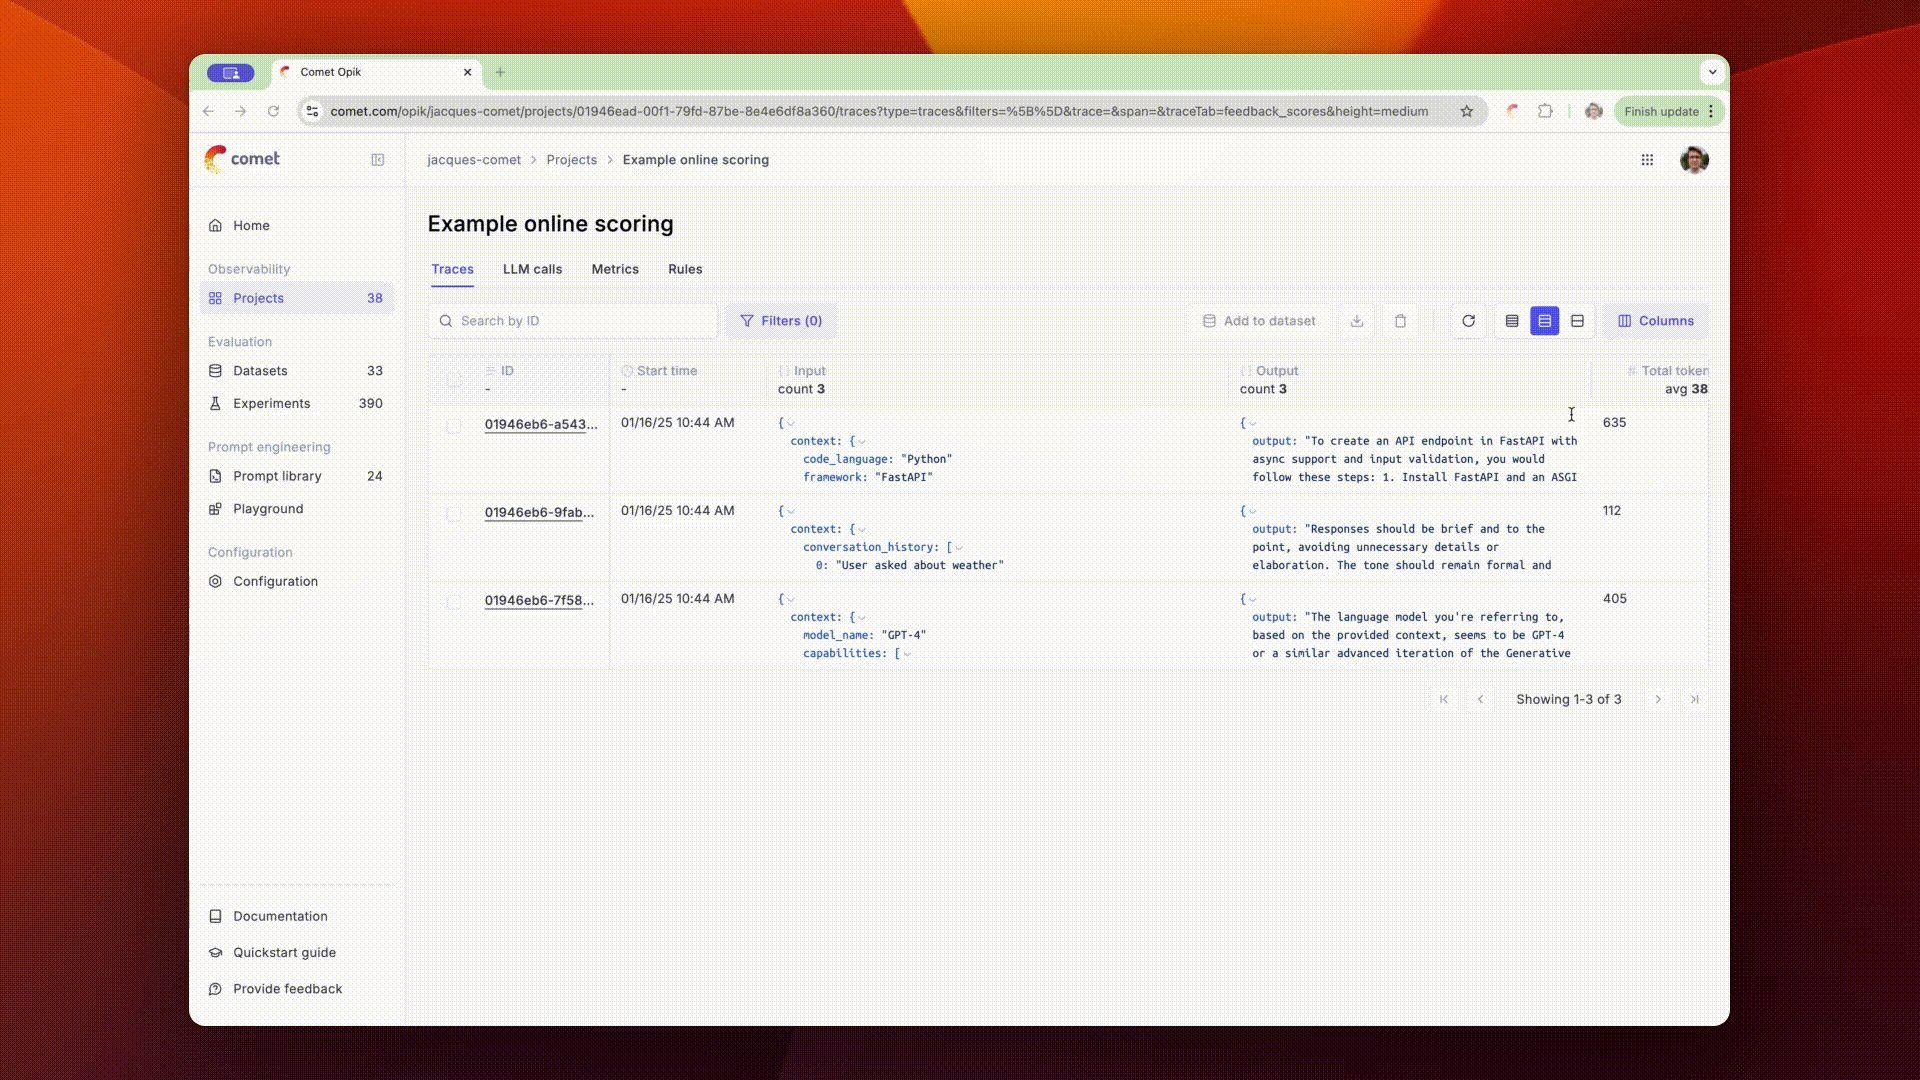
To annotate traces through the UI, you can navigate to the trace you want to annotate in the traces
page and click on the Annotate button. This will open a sidebar where you can add annotations to
the trace.
You can annotate both traces and spans through the UI, make sure you have selected the correct span in the sidebar.
Once a feedback scores has been provided, you can also add a reason to explain why this particular score was provided. This is useful to add additional context to the score.
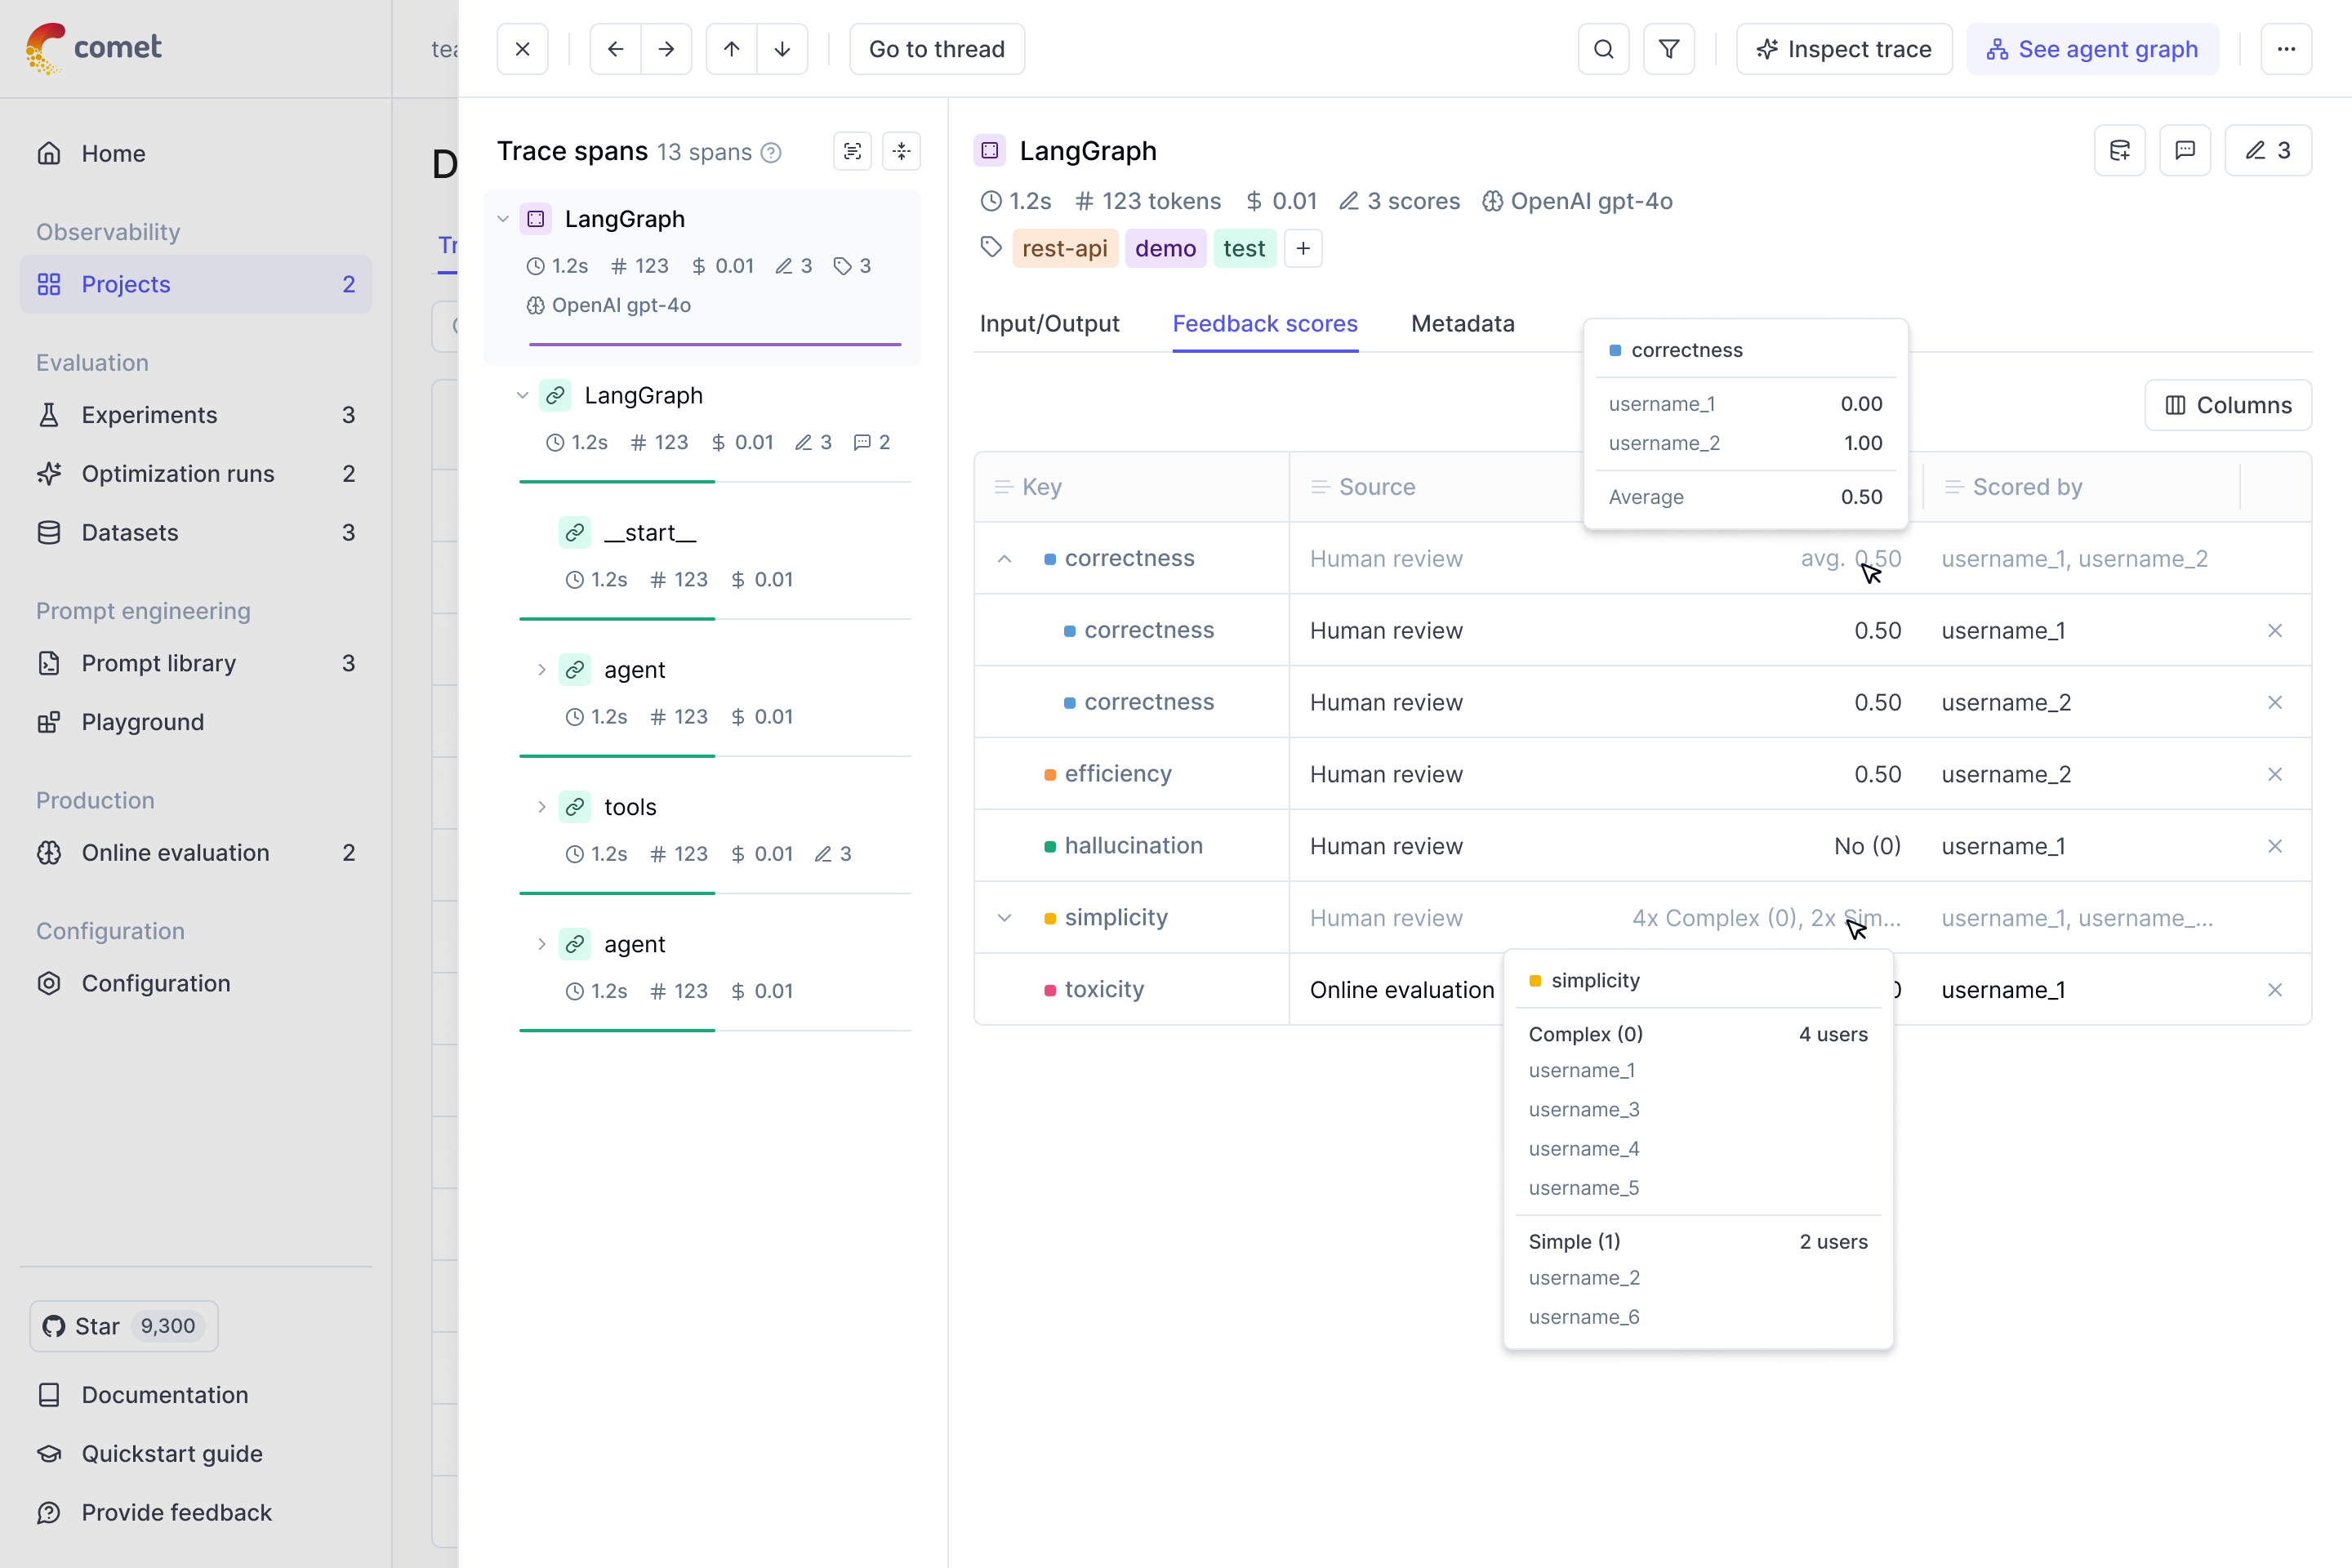
If multiple team members are annotating the same trace, you can see the annotations of each team
member in the UI in the Feedback scores section. The average score will be displayed at a trace
and trace level.
If you want a more dedicated annotation interface, you can use the Annotation Queues feature.
Online evaluation
You don’t need to manually annotate each trace to measure the performance of your agents! By using Opik’s online evaluation feature, you can define LLM as a Judge metrics that will automatically score all, or a subset, of your production traces.
Manual evaluation
While online evaluation automatically scores traces based on sampling rates and enabled rules, manual evaluation gives you complete control over which traces or threads get evaluated and when. This is particularly useful when you want to:
- Evaluate specific traces or threads that failed or require closer inspection
- Apply evaluation rules to historical data that wasn’t captured by sampling
- Test new evaluation rules on selected examples before enabling them for automatic scoring
- Re-evaluate traces with updated or modified rules
How manual evaluation works
Manual evaluation allows you to apply any existing evaluation rule to selected traces or threads directly from the UI, bypassing sampling rates and rule enablement status. You can trigger manual evaluation from:
- Traces page: Select one or more traces and click “Evaluate” to apply trace-level rules
- Threads page: Select one or more threads and click “Evaluate” to apply thread-level rules
Important: Trace-level rules can only be applied to traces, and thread-level rules can only be applied to threads. Make sure you’re using the appropriate rule type for your selected entities.
When you trigger manual evaluation:
- All selected traces/threads will be queued for evaluation, regardless of sampling rate
- You can apply multiple rules at once
- Rules will execute even if they are currently disabled
- Evaluation results will appear as feedback scores on the evaluated traces/threads
- The evaluation is processed asynchronously, so you may need to wait a few seconds or refresh the page to see the results
This gives you the flexibility to evaluate exactly what you need, when you need it, without waiting for the next sampled trace or modifying your online evaluation configuration.
Next steps
You can go one step further and:
- Create an offline evaluation to evaluate your agent before it is deployed to production
- Score your agent in production to track and catch specific issues with your agent
- Use annotation queues to organize your traces for review and labeling by your team of experts
- Checkout our LLM as a Judge metrics