What is OpenCV-Python?
OpenCV is an open source computer vision and machine learning library. It has 2500+ optimized algorithms—a comprehensive set of both classic and state-of-the-art computer vision and machine learning algorithms. It has many interfaces, including Python, Java, C++, and Matlab.
Here, we’re gonna tackle the Python interface.
Table of Contents
- Installation
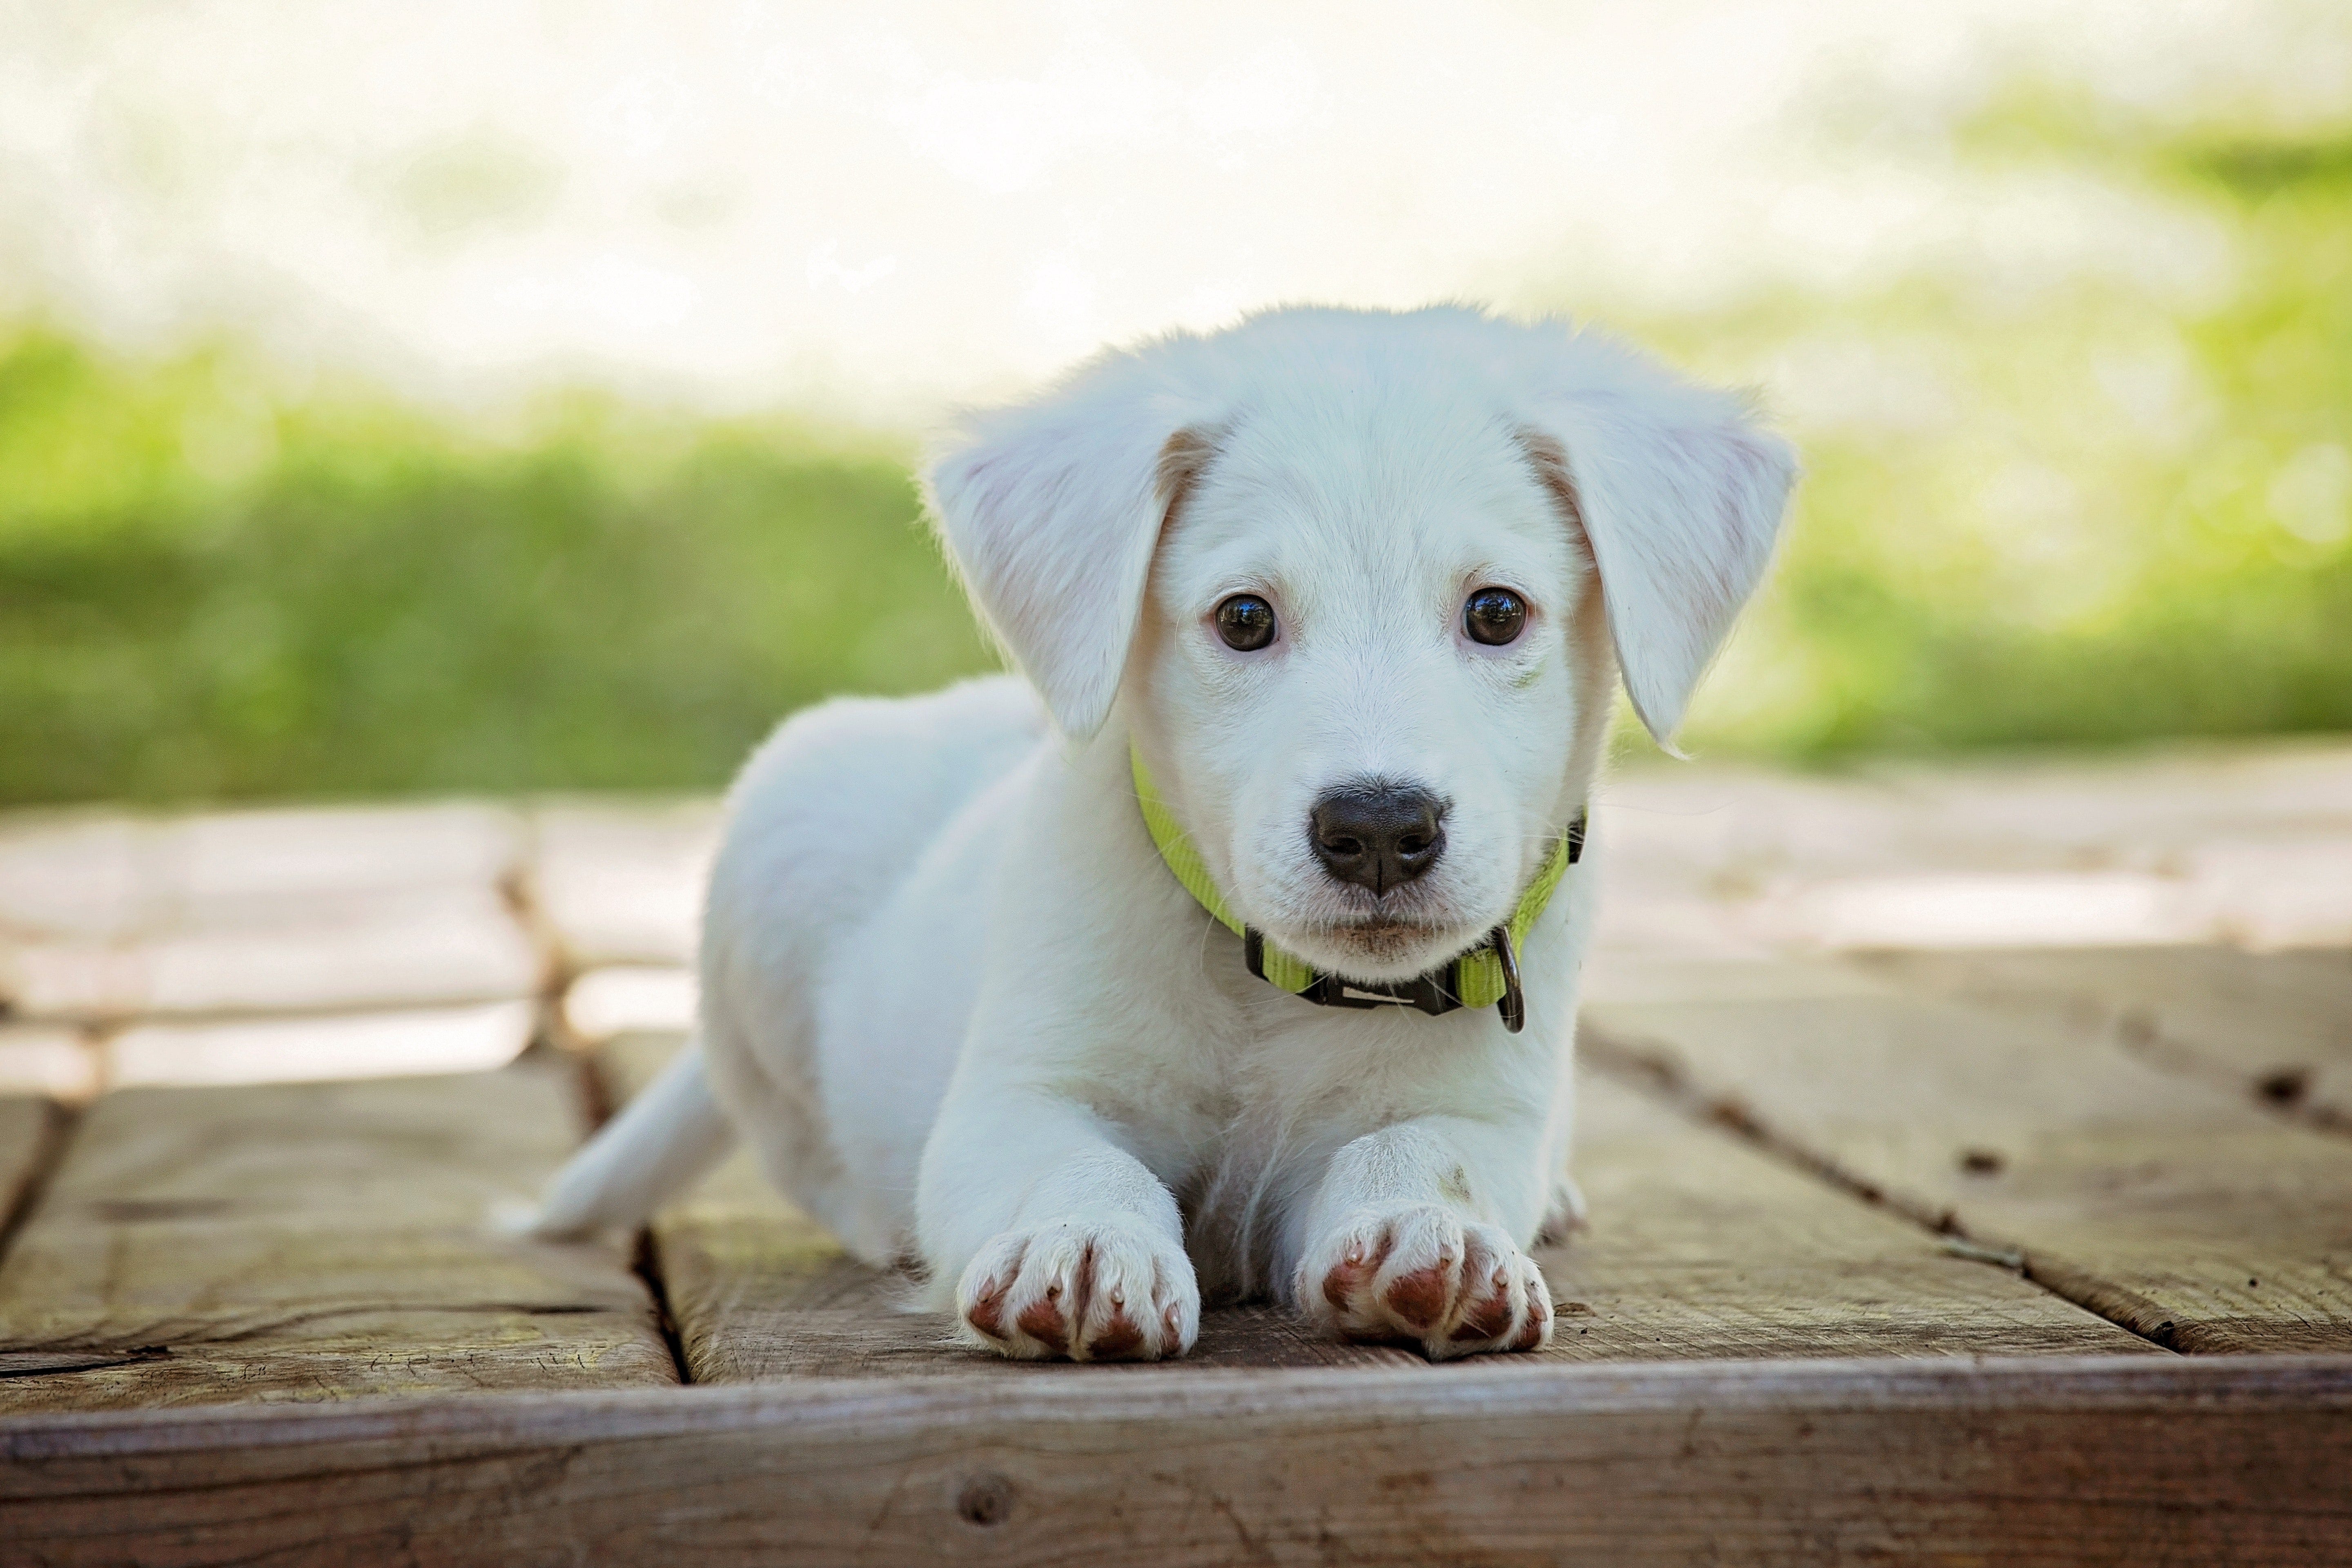
- Importing/Viewing an Image
- Cropping
- Resizing
- Rotating
- Grayscaling and Thresholding
- Blurring/Smoothing
- Drawing a Rectangle/Bounding Box
- Drawing a Line
- Writing on an Image
- Face Detection
- Contours—A Method for Object Detection
- Saving an Image
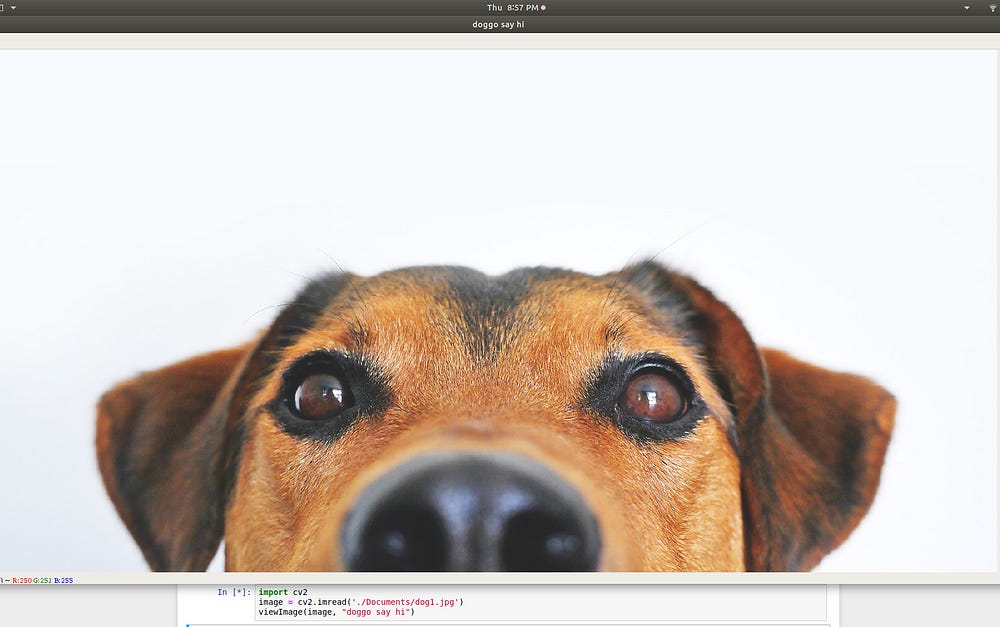
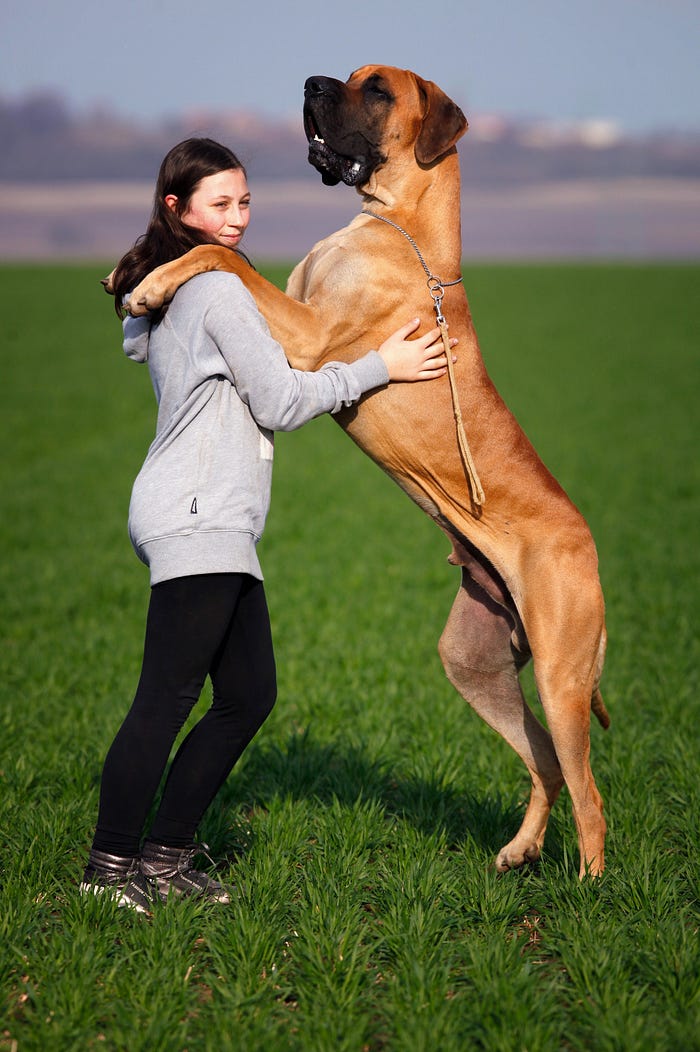
Importing an Image & Viewing it
import cv2
image = cv2.imread("./Path/To/Image.extension")
cv2.imshow("Image", image)
cv2.waitKey(0)
cv2.destroyAllWindows()
Warning 1: On reading images this way via openCV, it isn’t in RGB colorspace—it’s in BGR. Sometime this won’t be an issue with you, you’ll only have trouble if you want to add something colored to your image.
There are two solutions:
- Switch the R — 1st one(red) with the B — 3rd one(blue), so that Red is (0,0,255) instead of (255,0,0).
- Change the colorspace to RGB:
rgb_image = cv2.cvtColor(image, cv2.COLOR_BGR2RGB)
and go on with your code with rgb_image instead of image.
Warning 2: To close the window that’s displaying the image, press any button.If you use the close button it may cause freezes (happens to me when I’m on a Jupyter notebook).
For simplicity, throughout this tutorial I’ll be using this method to view images:
import cv2
def viewImage(image, name_of_window):
    cv2.namedWindow(name_of_window, cv2.WINDOW_NORMAL)
    cv2.imshow(name_of_window, image)
    cv2.waitKey(0)
    cv2.destroyAllWindows()
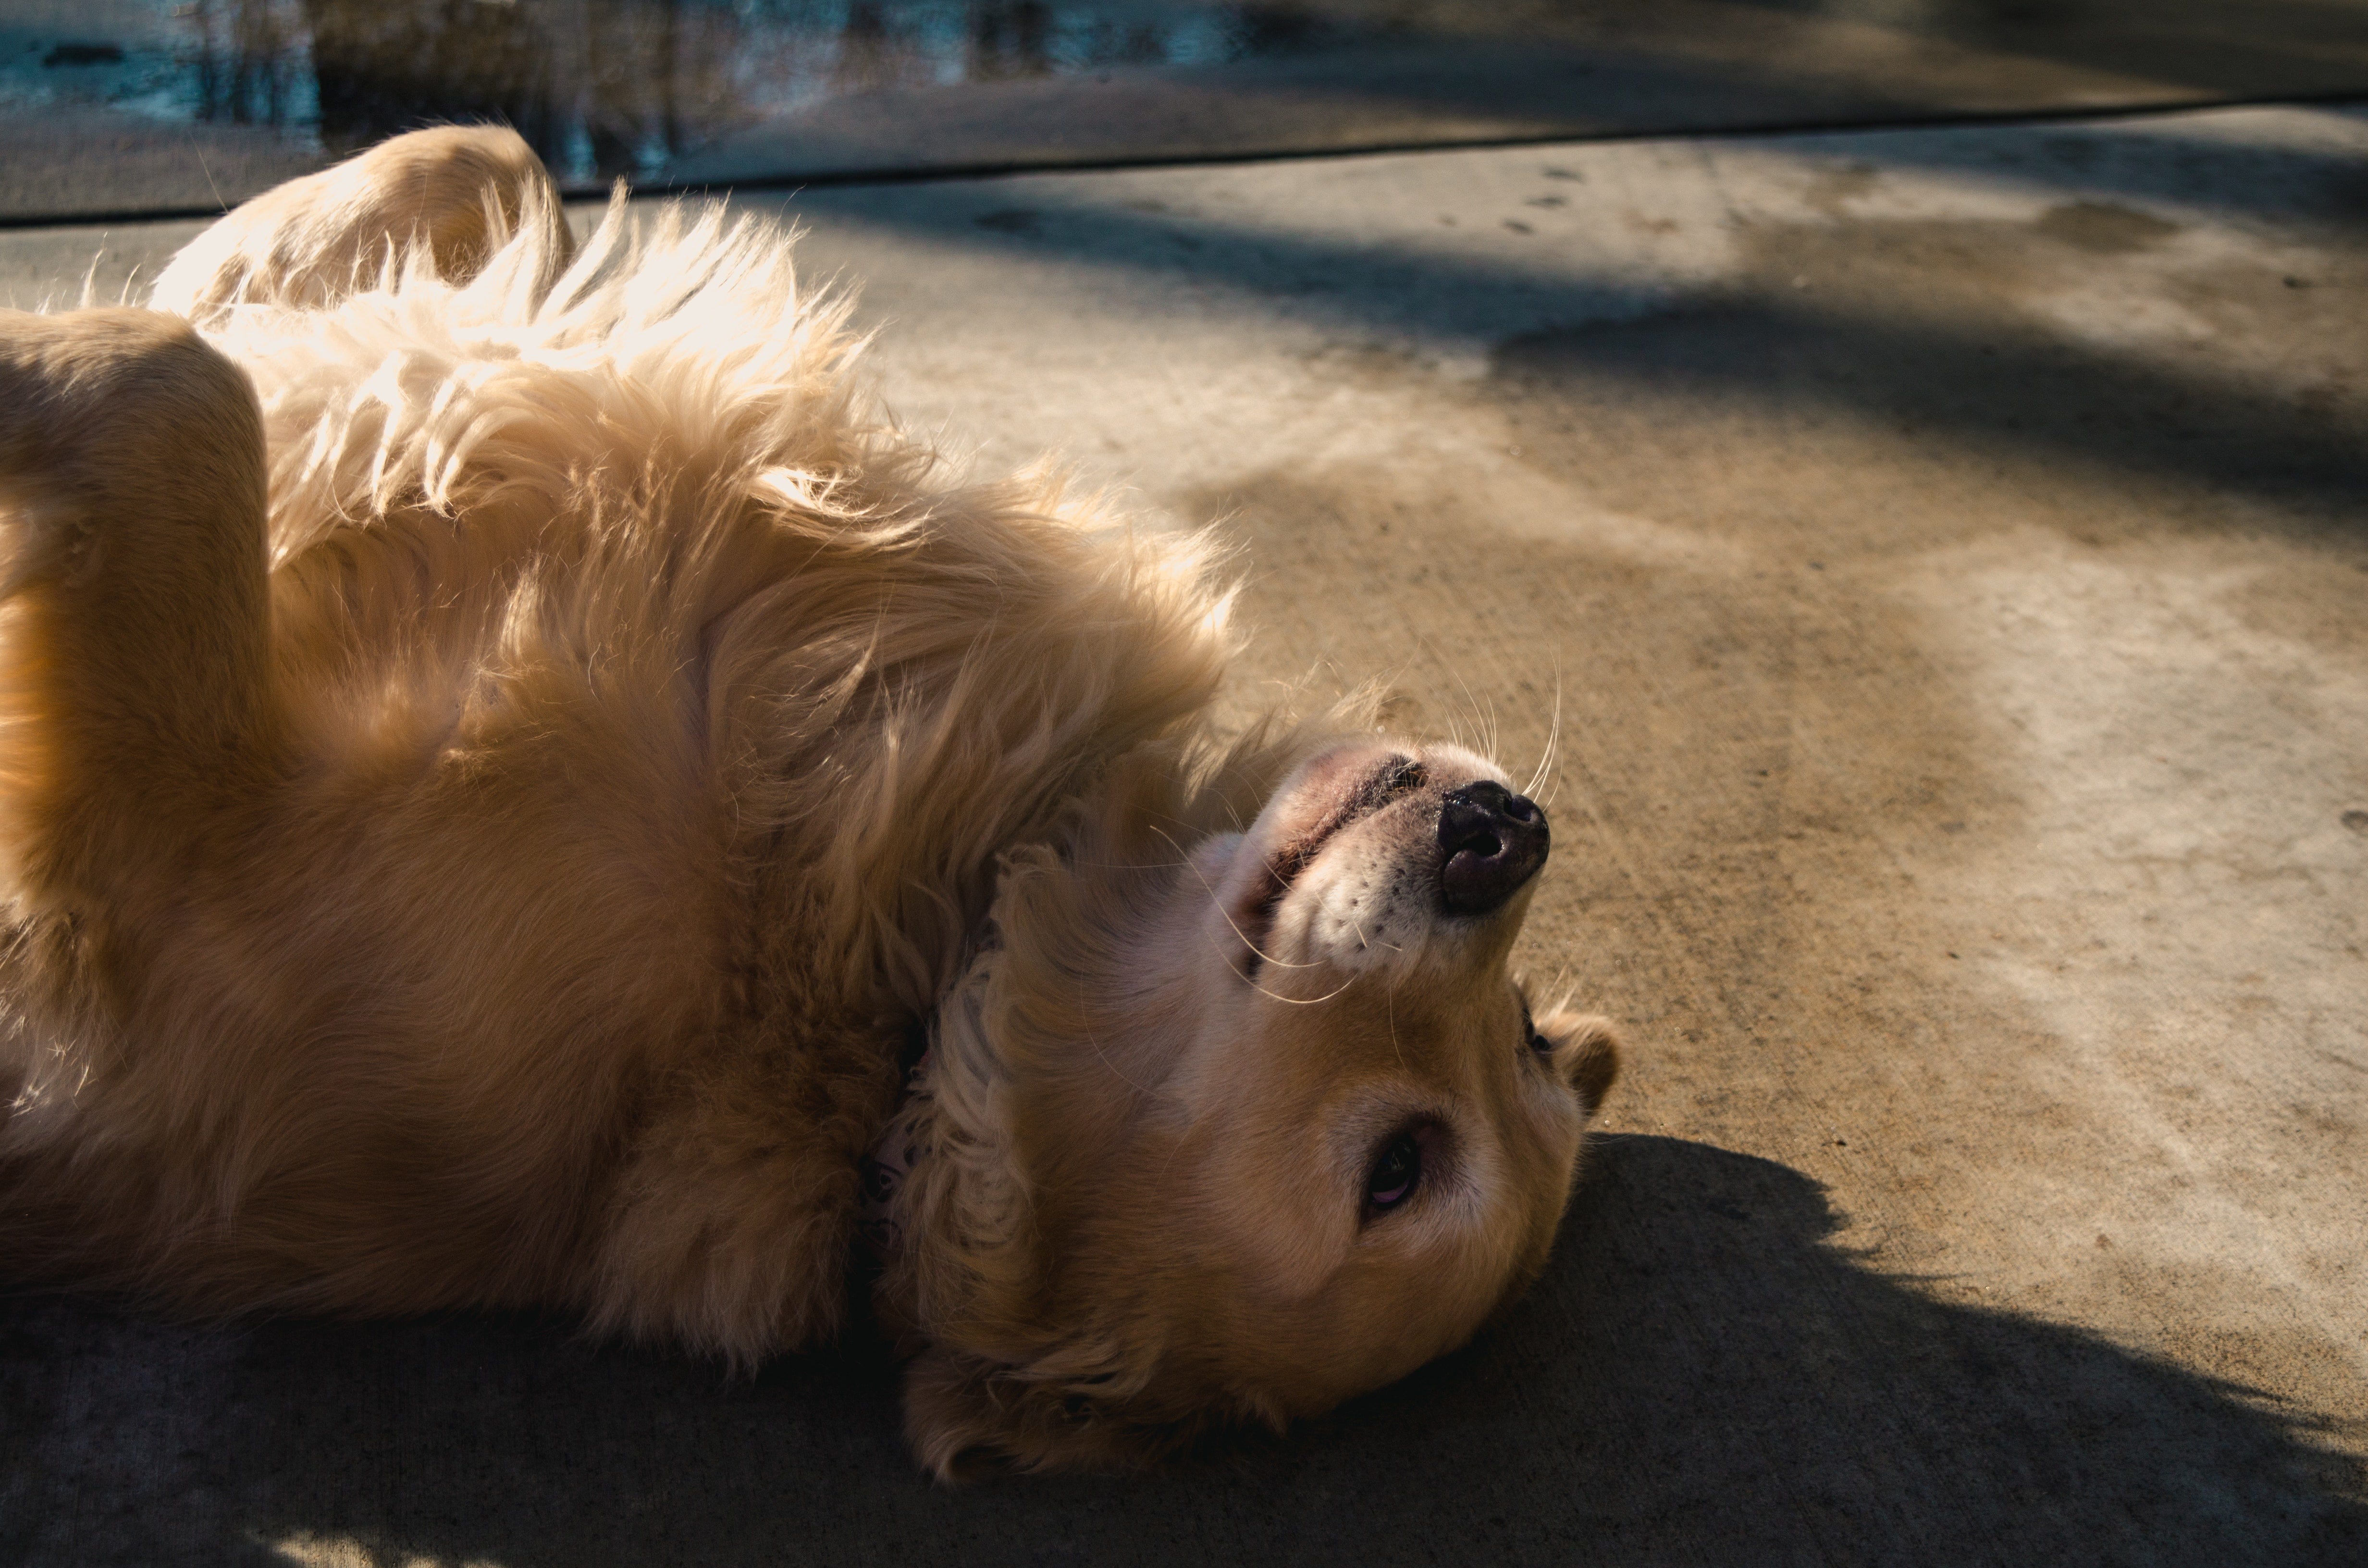
Cropping
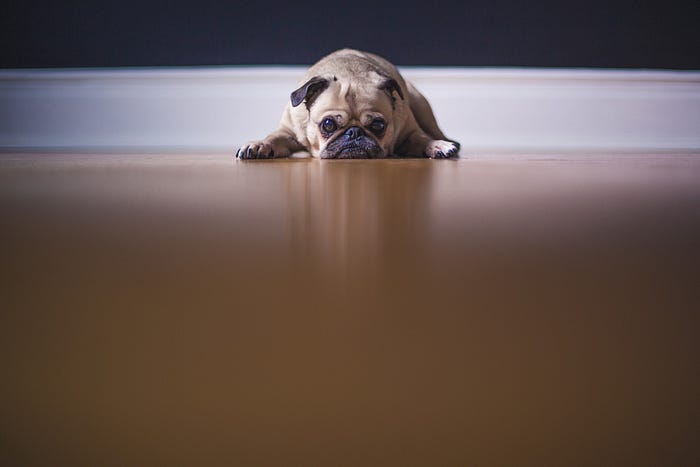
import cv2
cropped = image[10:500, 500:2000]
viewImage(cropped, "Doggo after cropping.")
where image[10:500, 500:2000] is image[y:y+h, x:x+w]
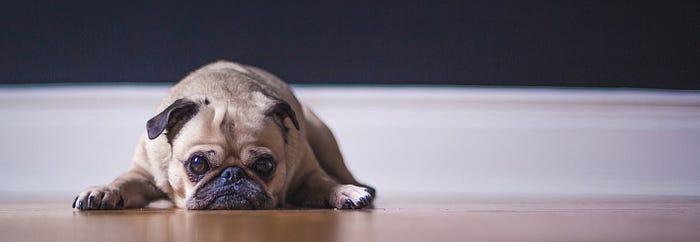
Resizing

import cv2
scale_percent = 20 # percent of original size
width = int(img.shape[1] * scale_percent / 100)
height = int(img.shape[0] * scale_percent / 100)
dim = (width, height)resized = cv2.resize(img, dim, interpolation = cv2.INTER_AREA)viewImage(resized, "After resizing with 20%")
This resizing function maintains the dimension-ratio of the original image.
More image scaling functions here.
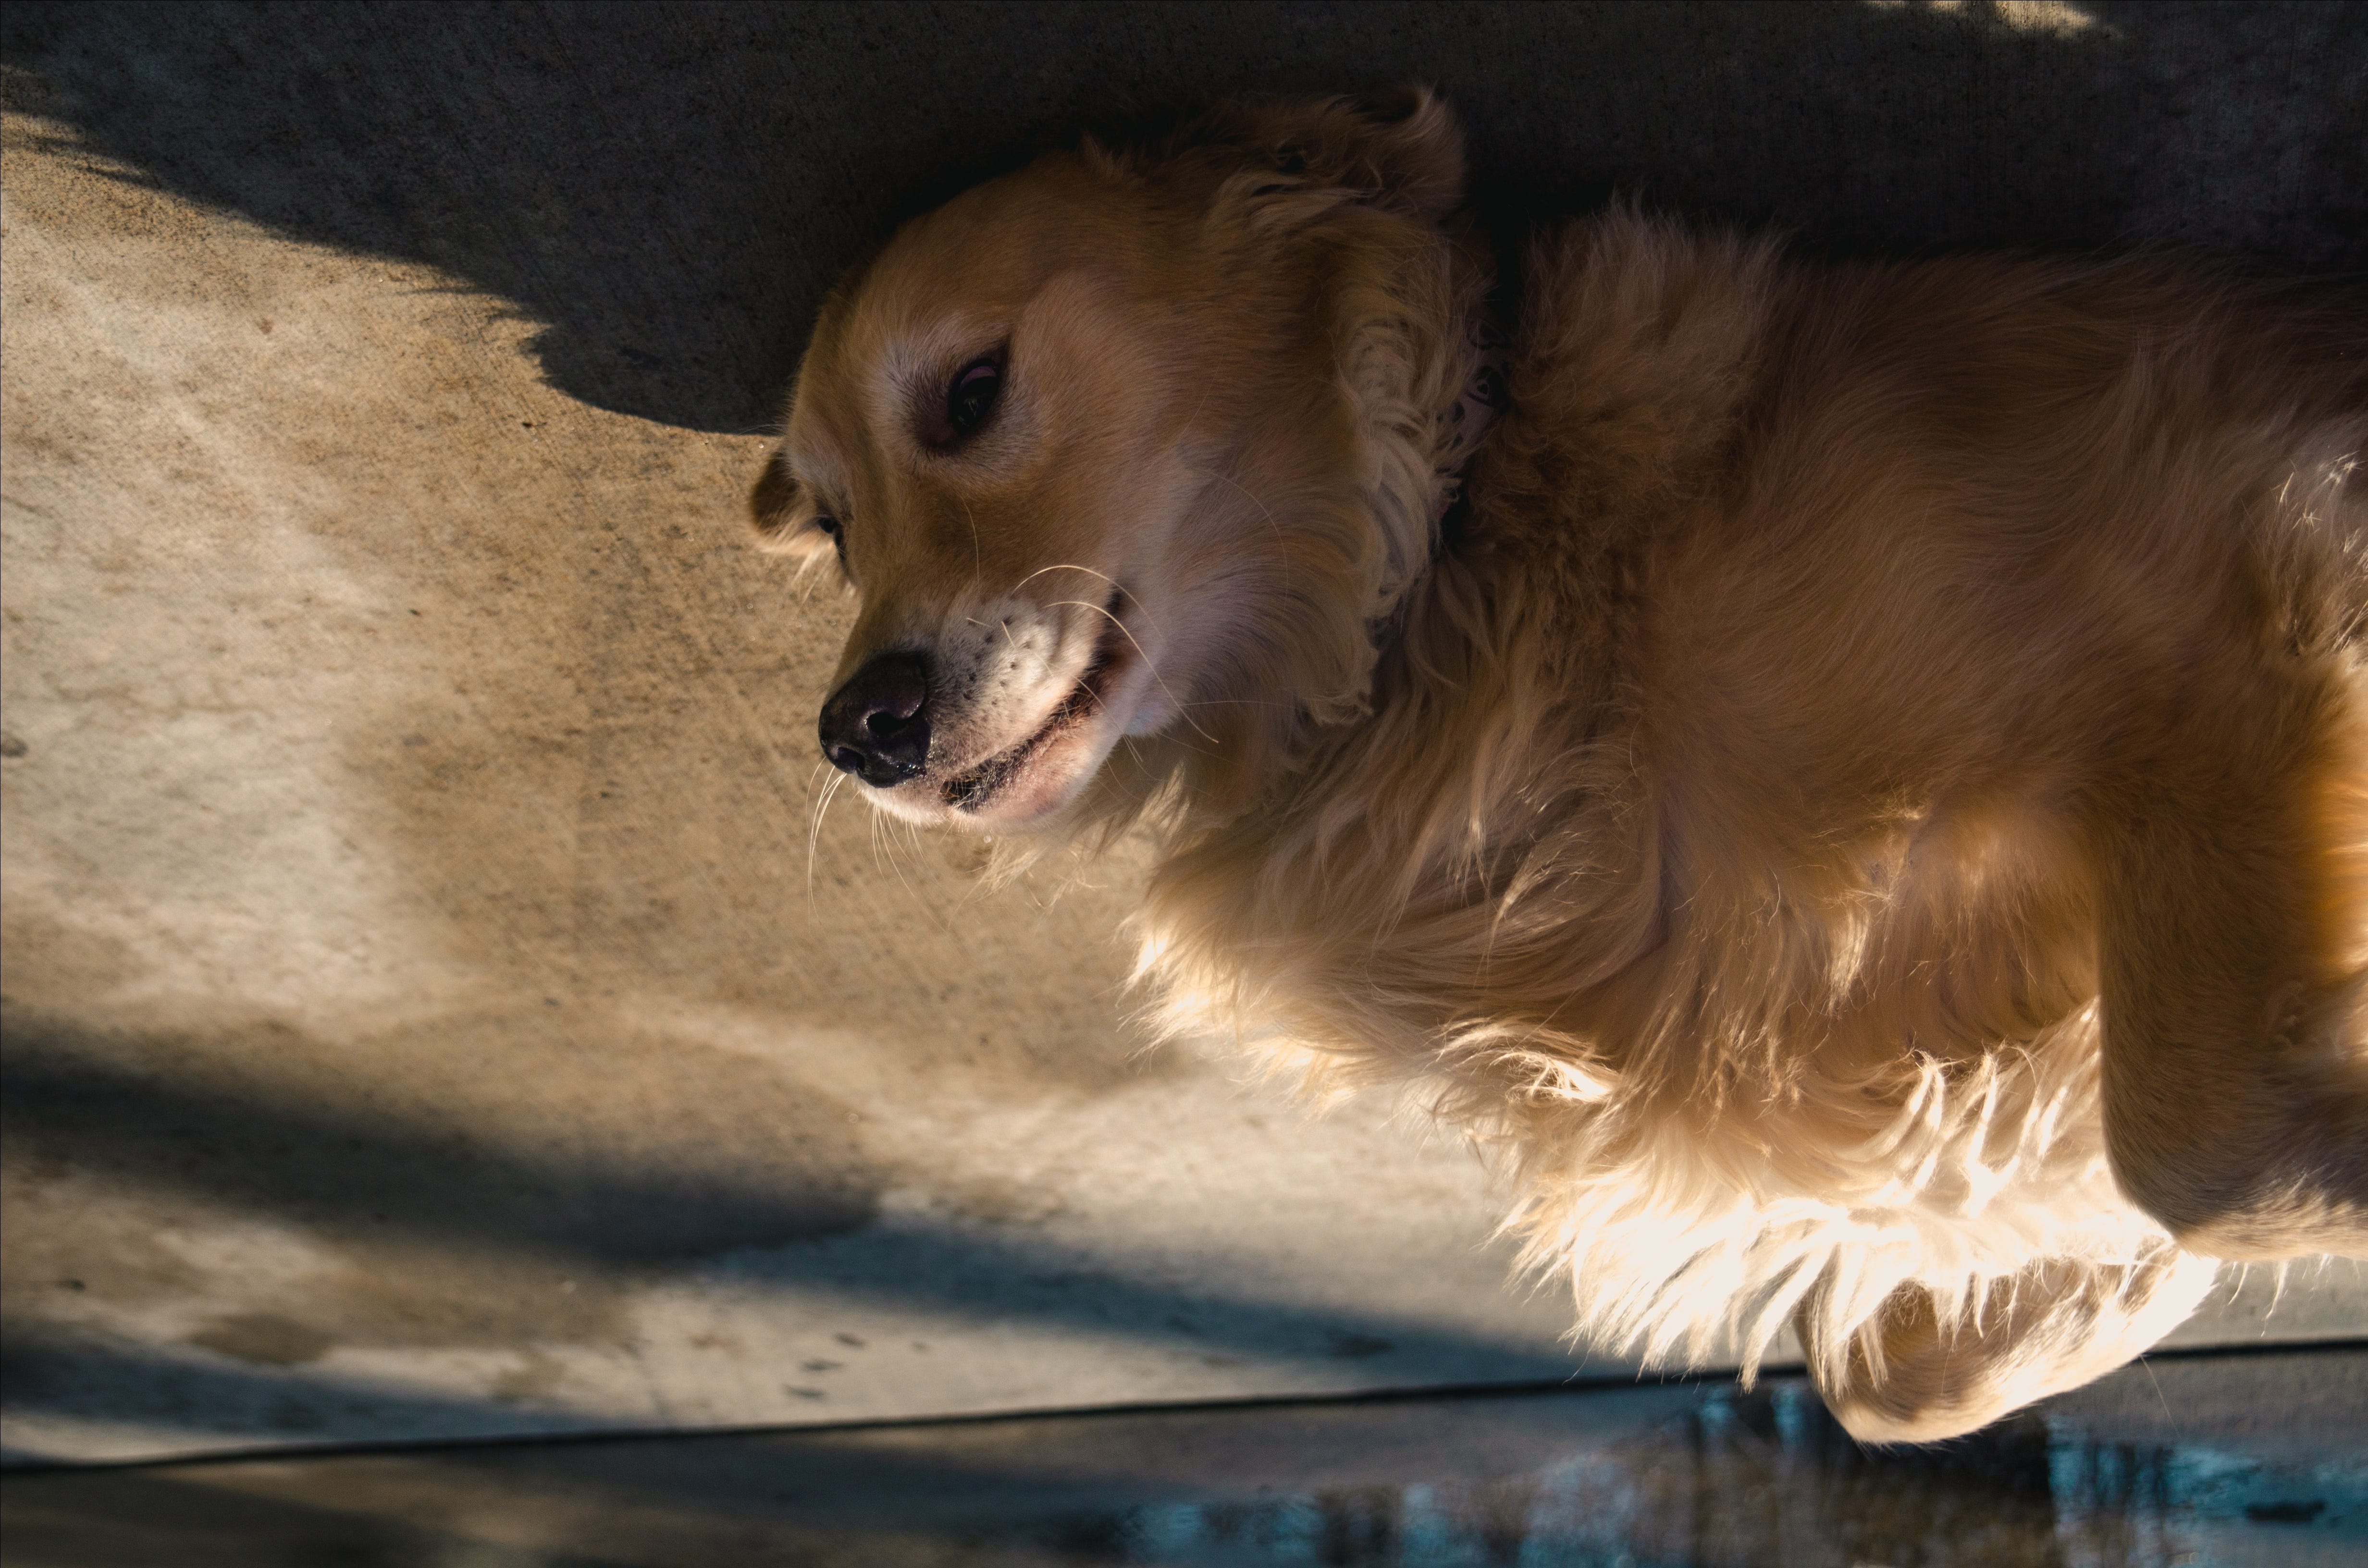
Rotating
import cv2
(h, w, d) = image.shape
center = (w // 2, h // 2)
M = cv2.getRotationMatrix2D(center, 180, 1.0)
rotated = cv2.warpAffine(image, M, (w, h))
viewImage(rotated, "Doggo after rotation by 190 degrees")
image.shape outputs the height, width, and channels. M is the rotation matrix—this rotates the image 180 degrees around its center.
-ve angle rotates the image clockwise & +ve angle rotates the image counterclockwise.
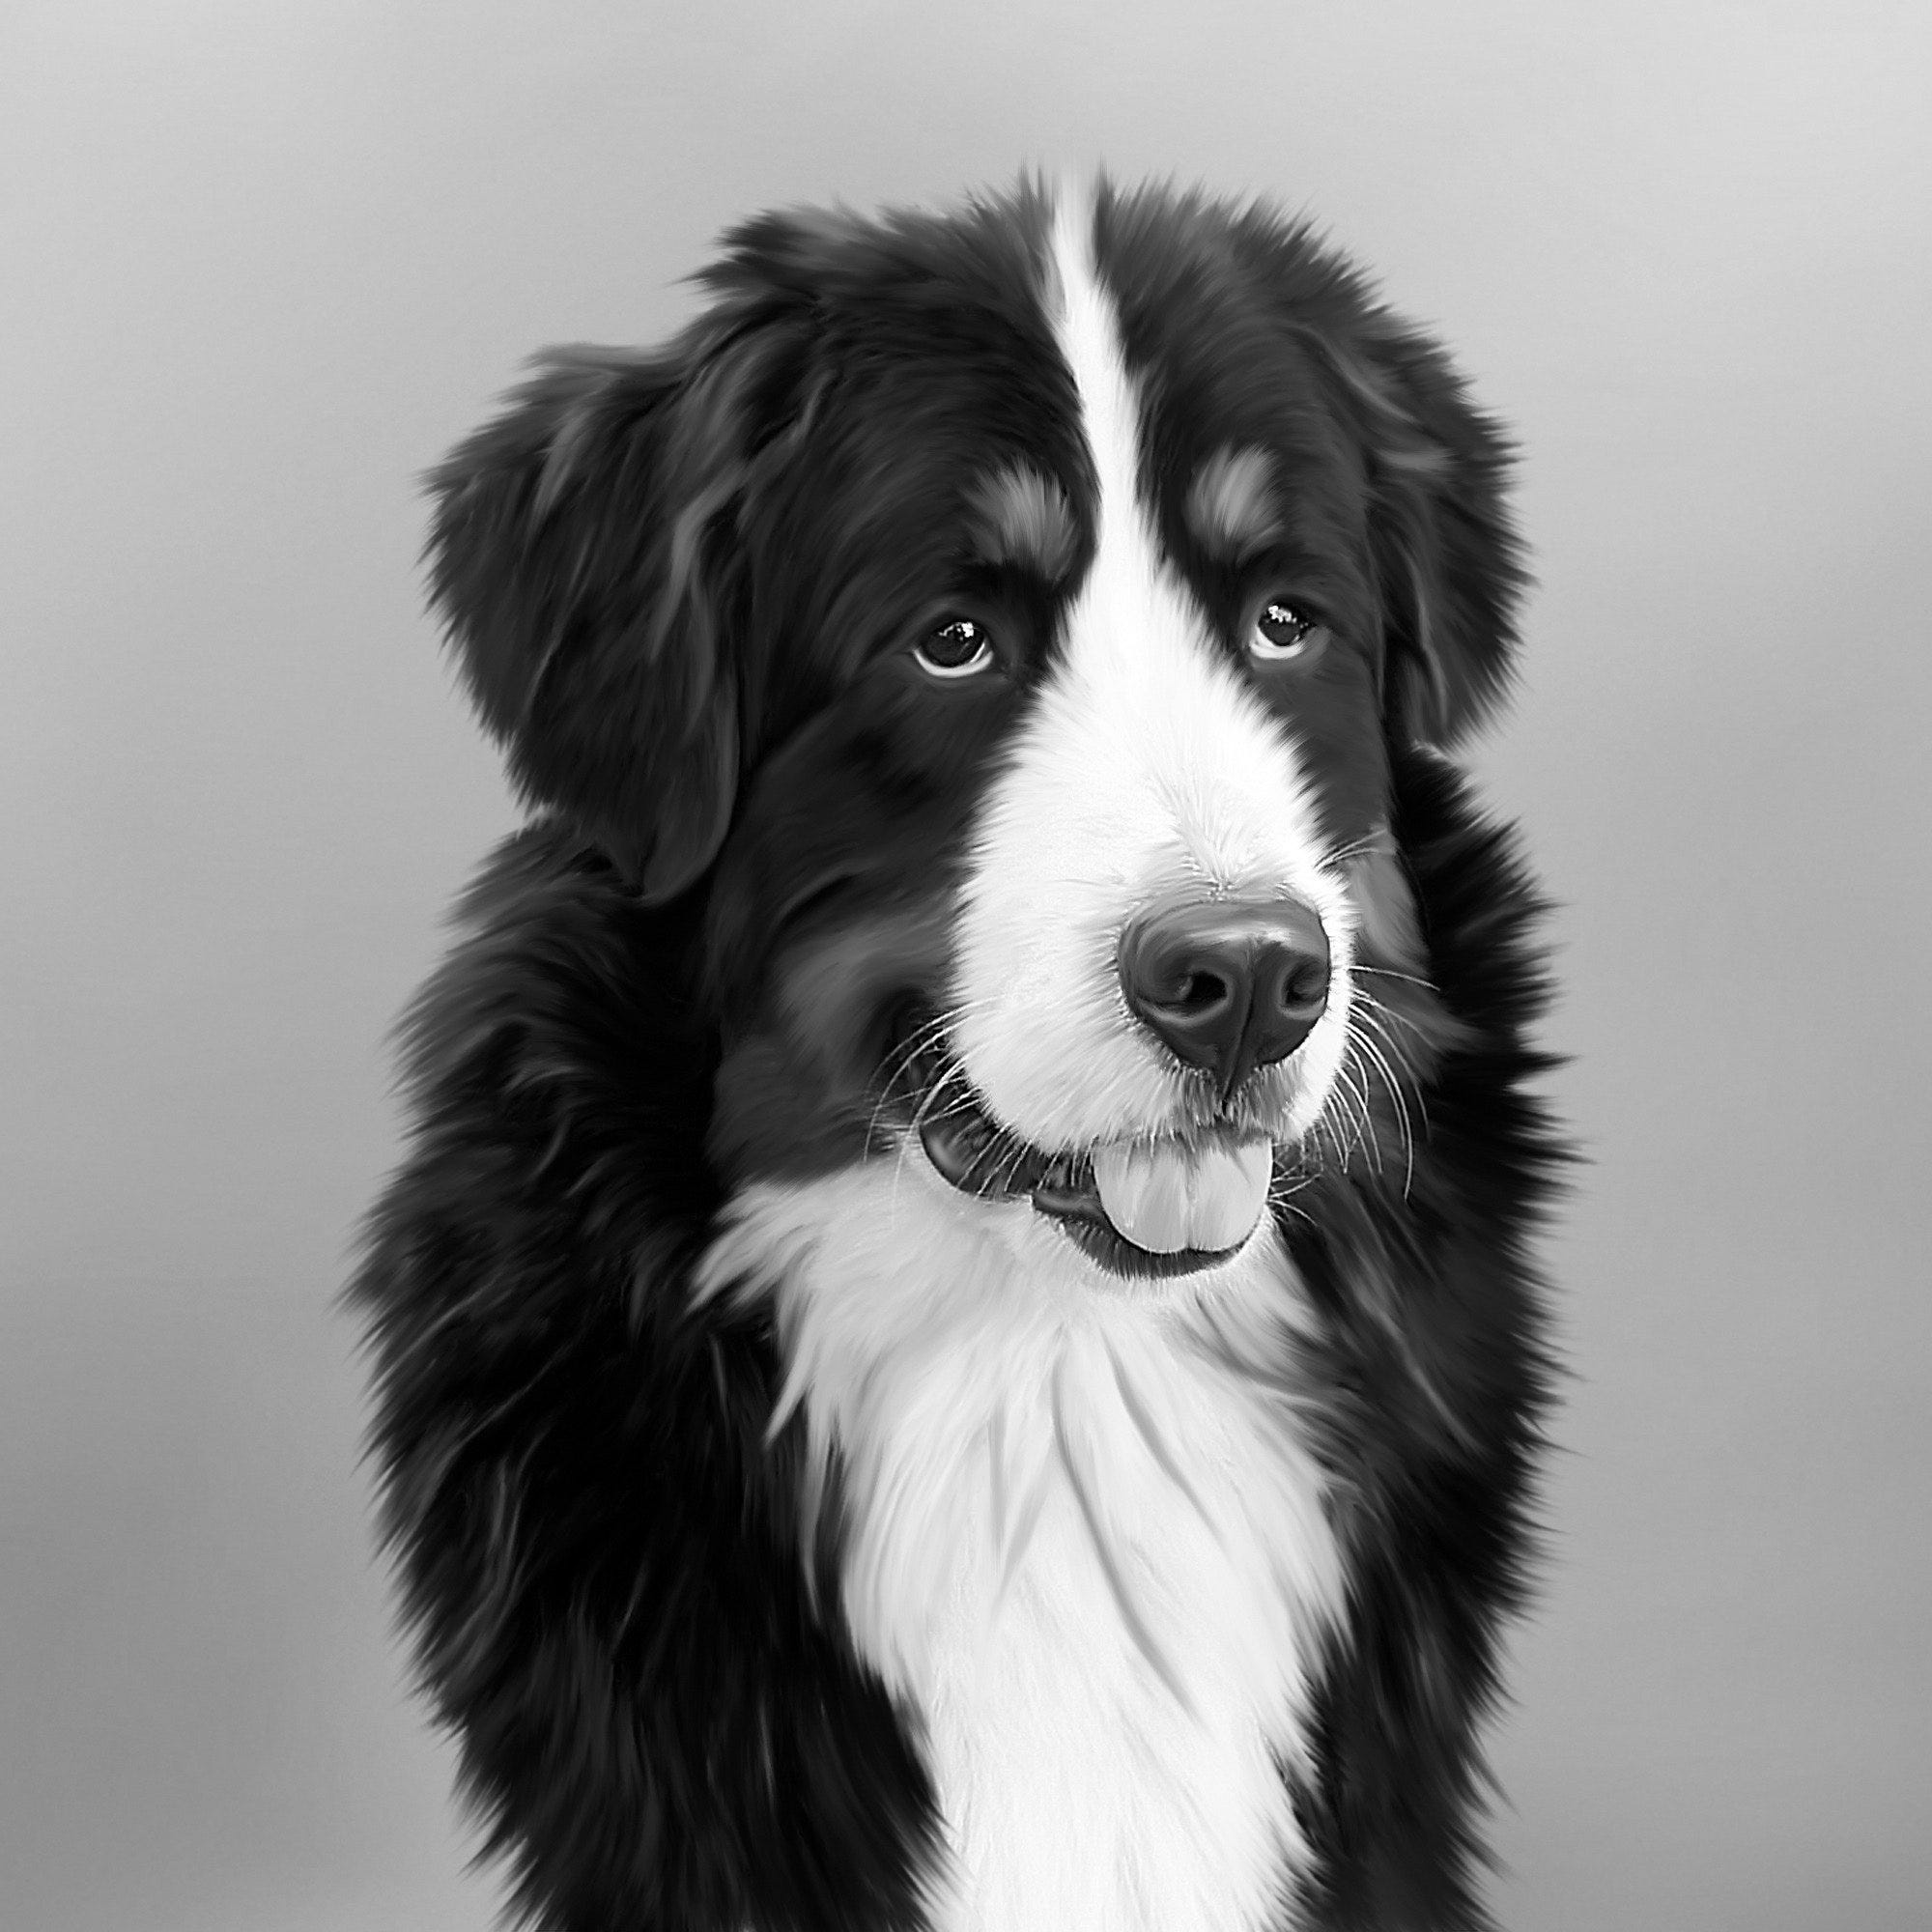
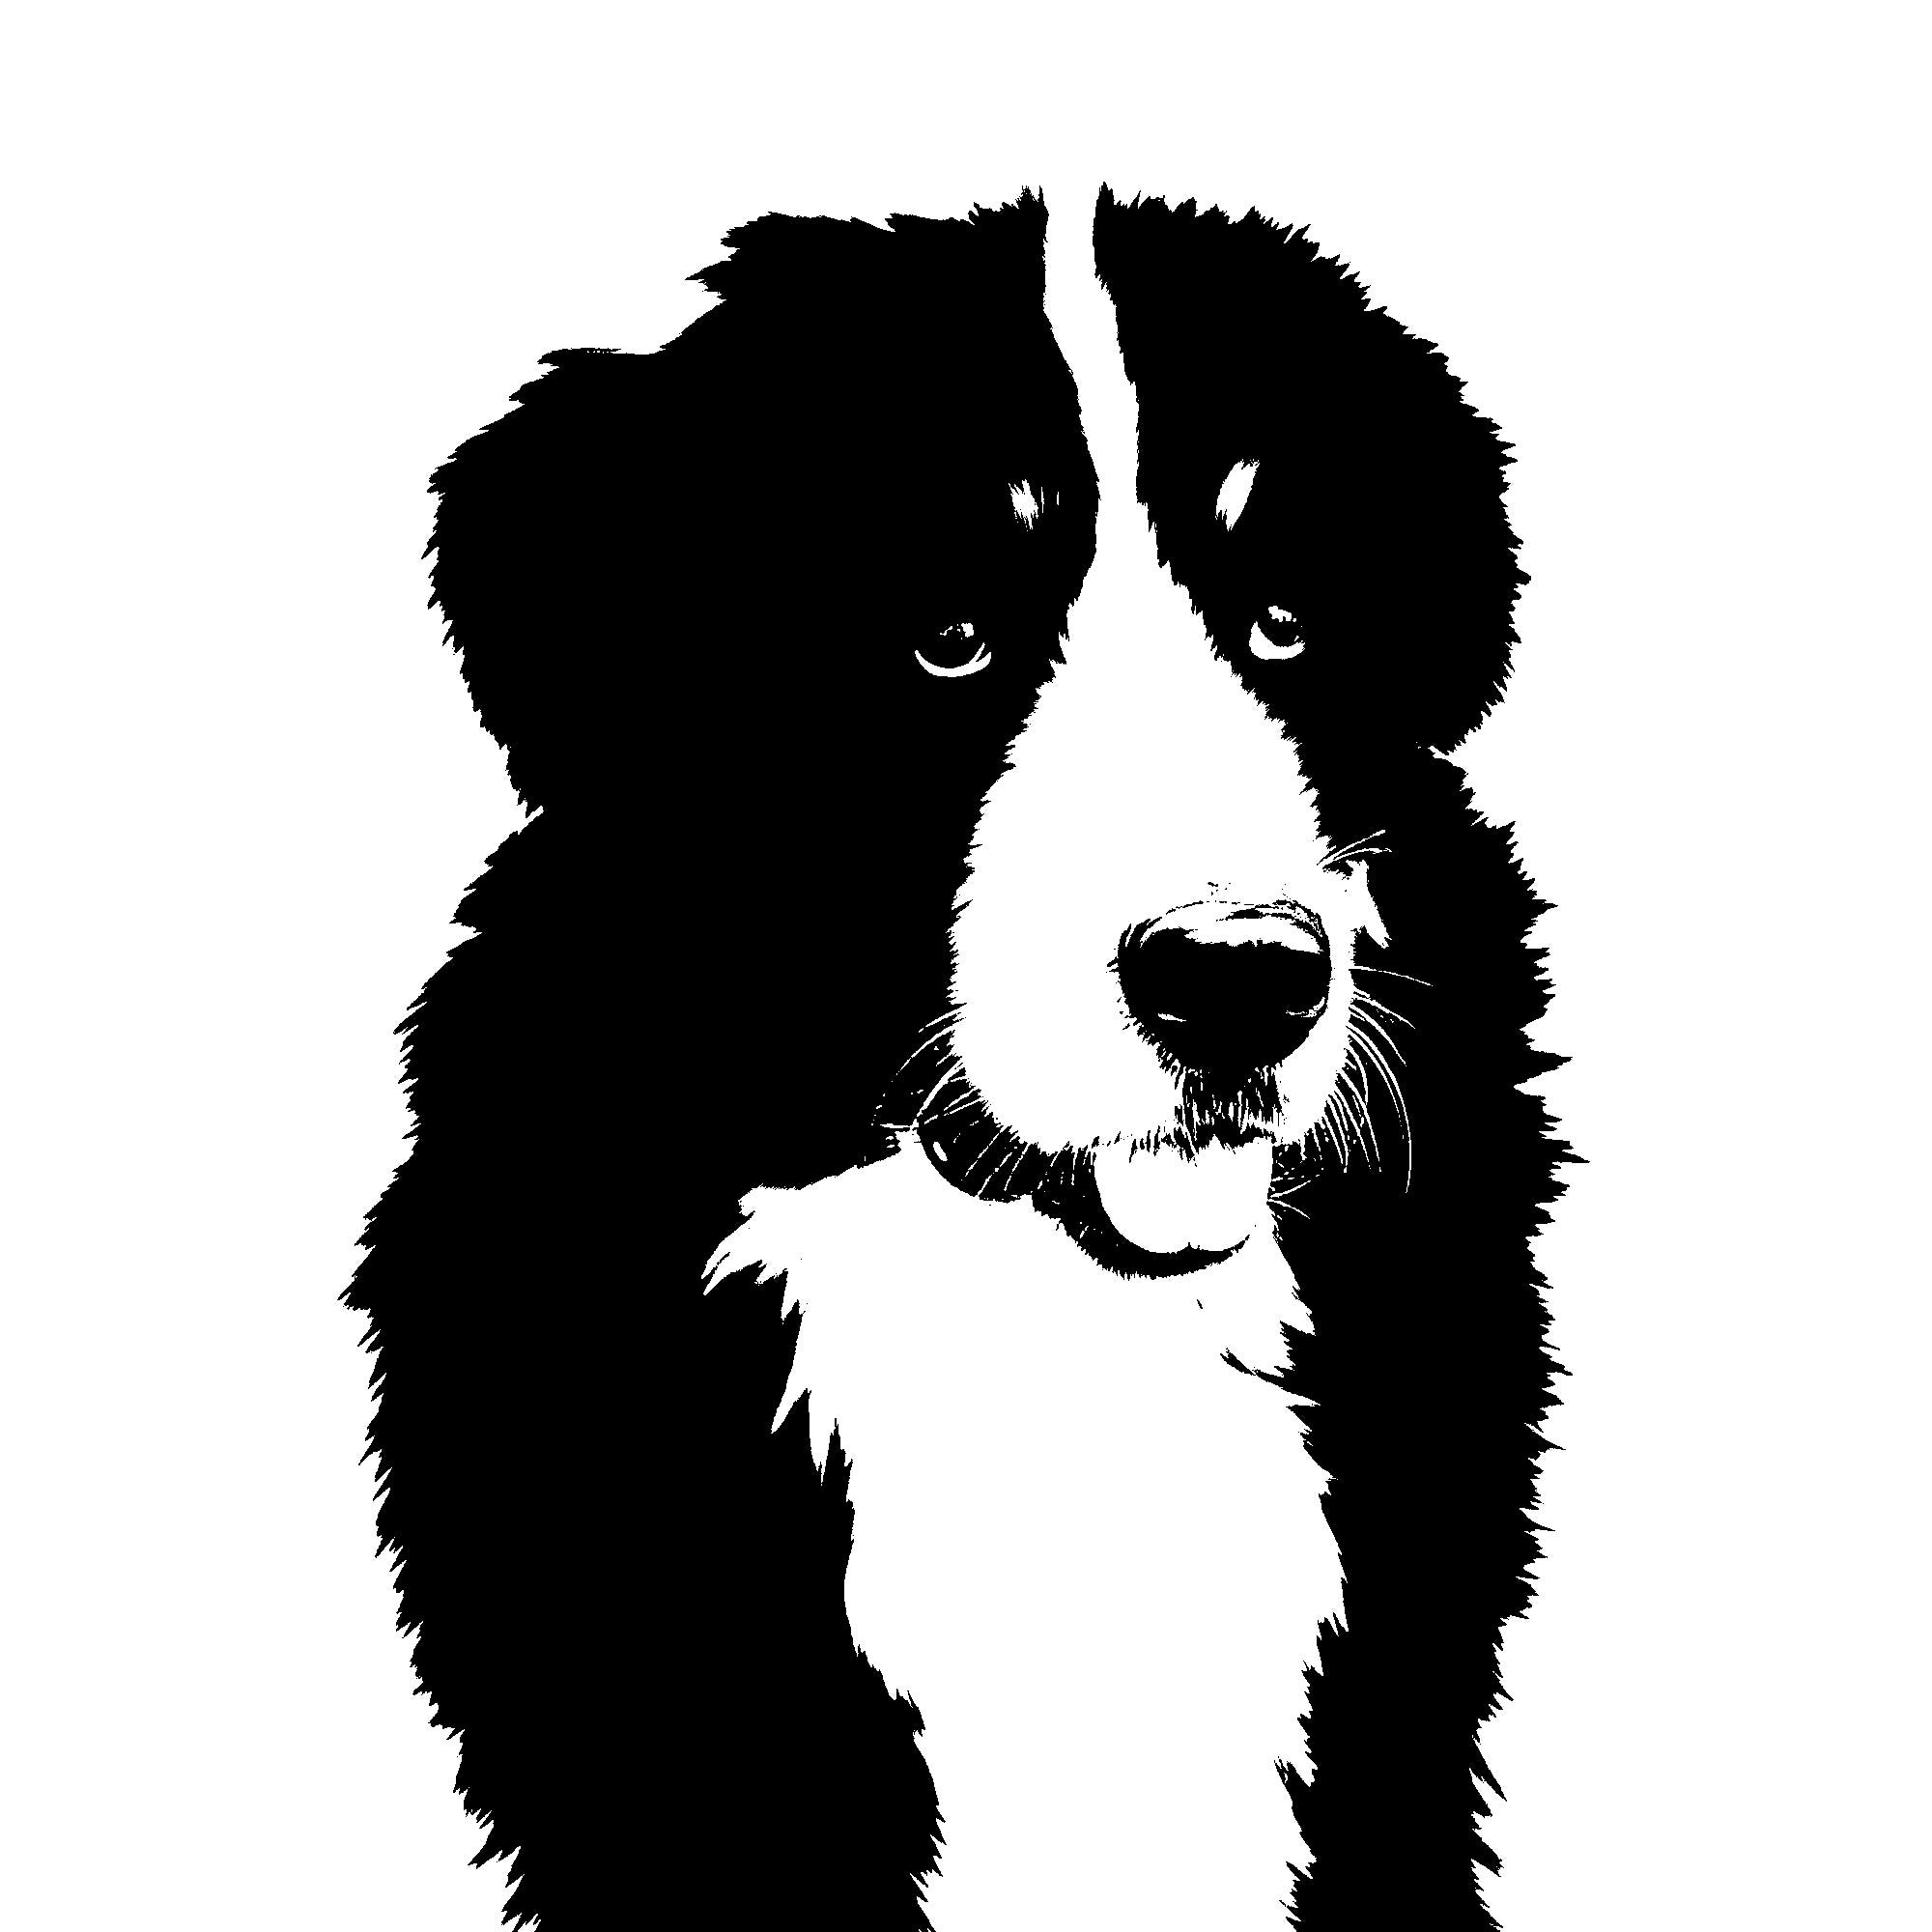
Grayscaling and Thresholding (Black & White effect)
import cv2
gray_image = cv2.cvtColor(image, cv2.COLOR_BGR2GRAY)
ret, threshold_image = cv2.threshold(im, 127, 255, 0)
viewImage(gray_image, "Gray-scale doggo")
viewImage(threshold_image, "Black & White doggo")
gray_image is the grayscale one-channeled version of the image.
This threshold function will turn all shades darker (smaller) than 127 to 0 and all brighter (greater) to 255.
Another example:
ret, threshold = cv2.threshold(im, 150, 200, 10)
This will turn all shades smaller than 150 to 10 and all greater to 200.
More thresholding functions here.
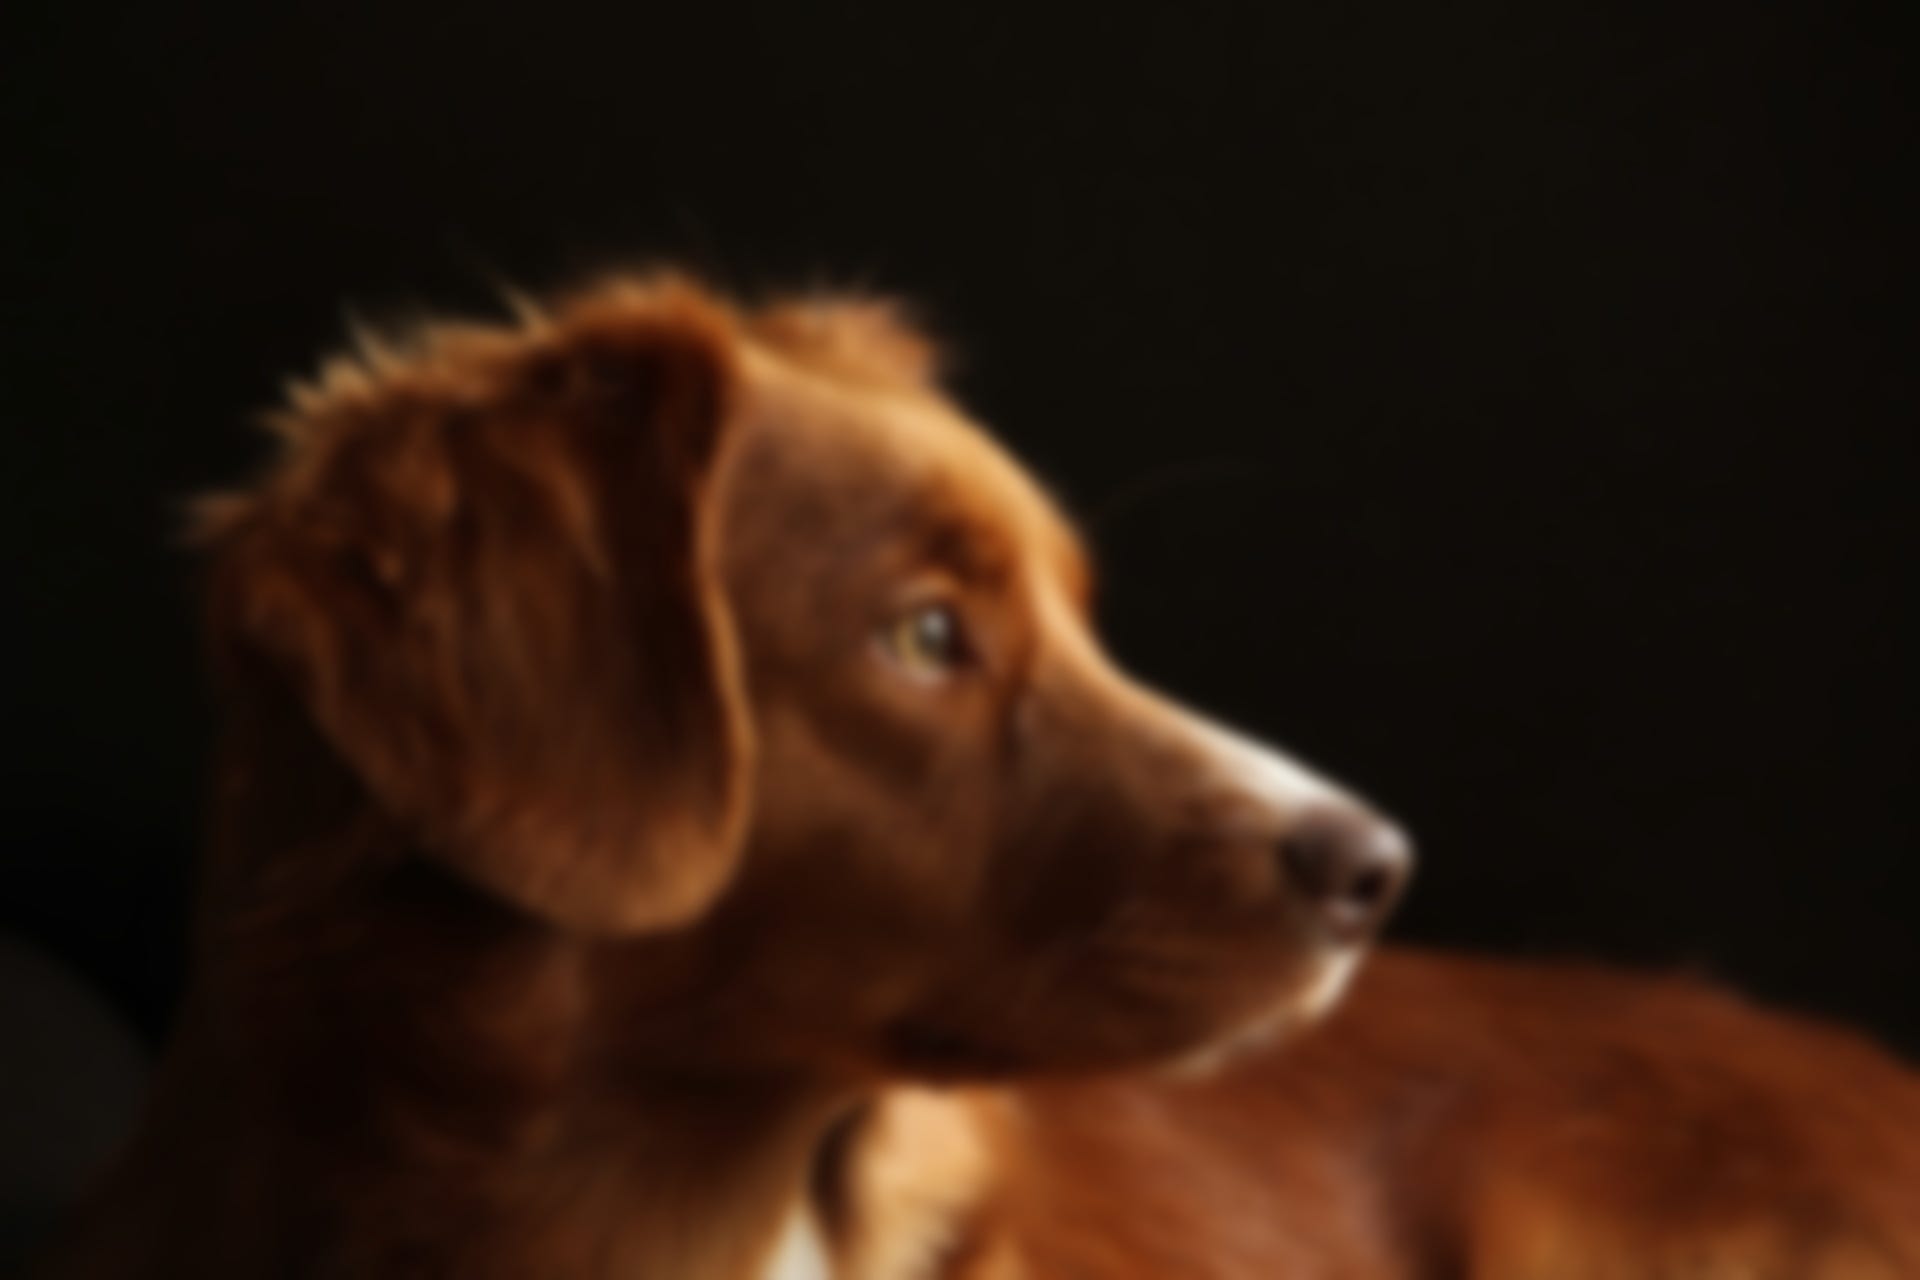
Blurring/Smoothing

import cv2
blurred = cv2.GaussianBlur(image, (51, 51), 0)
viewImage(blurred, "Blurred doggo")
The GaussianBlur function takes 3 parameters:
- The first parameter is the image you want to blur.
- The second parameter must be a tuple of 2 positive odd numbers. When they increase, the blur effect increases.
- The third parameter is The sigmaX and sigmaY. When left at 0, they’re automatically calculated from the kernel size.
More blurring functions here.
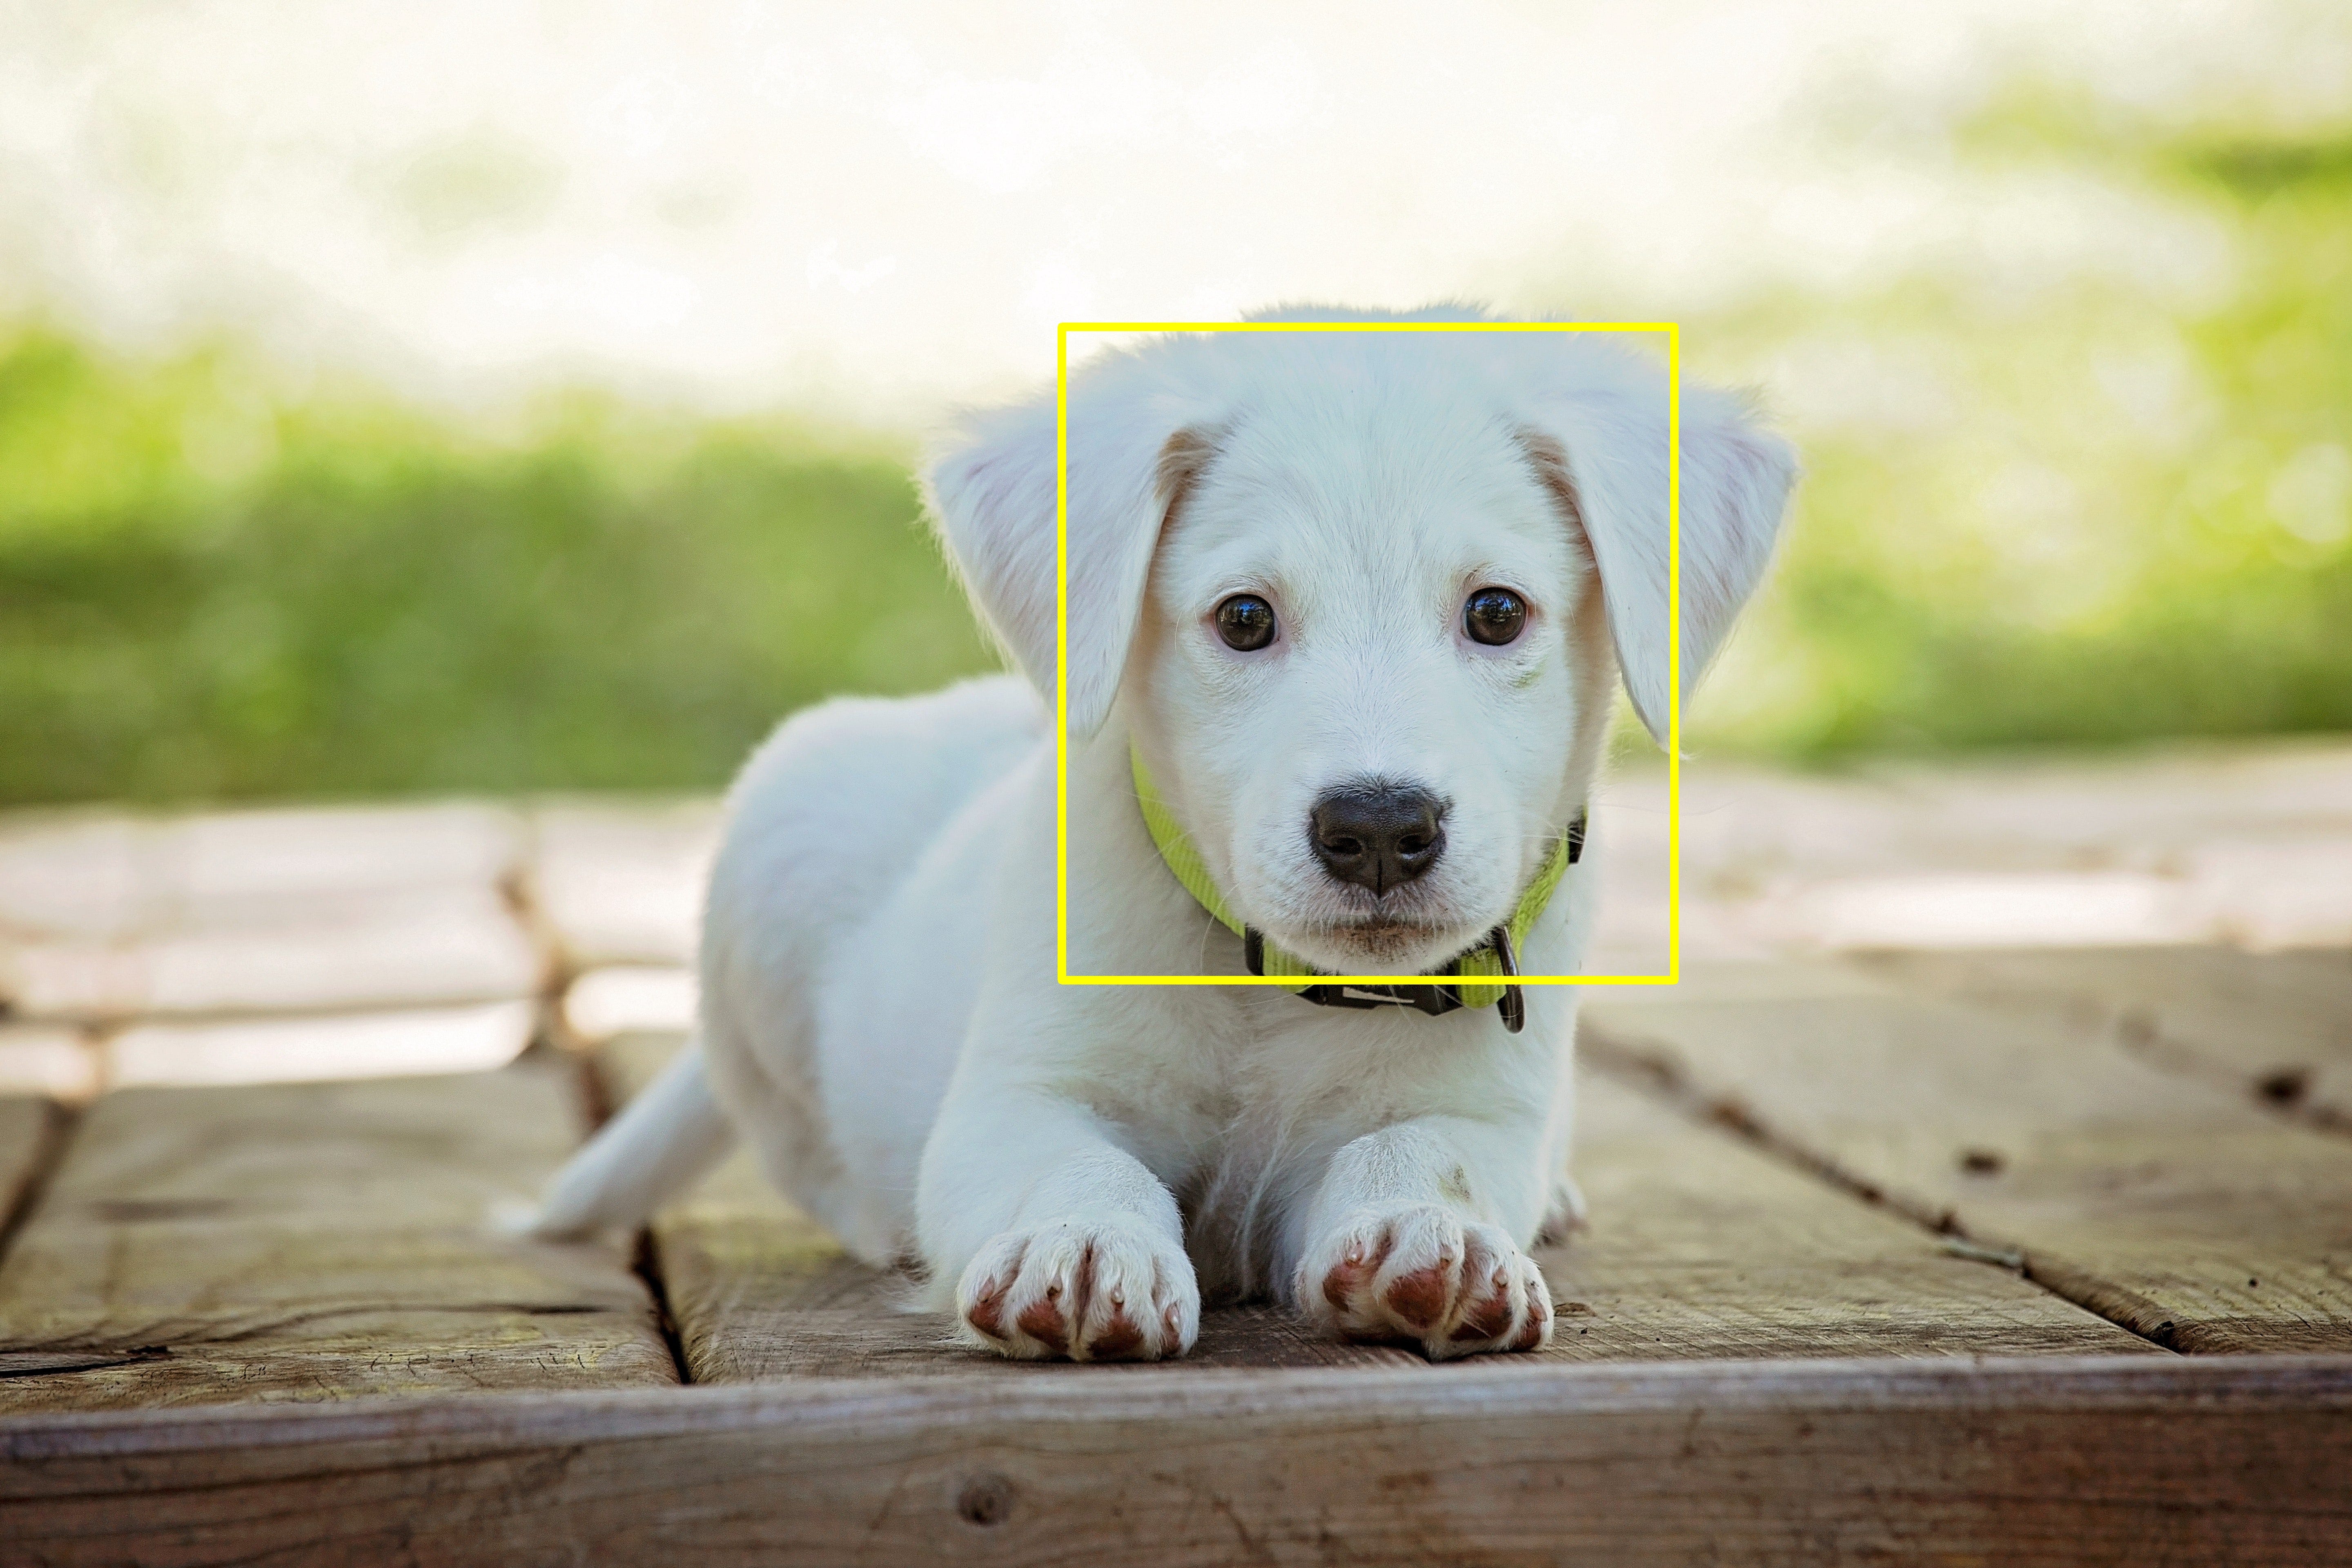
Drawing a Rectangle/Bounding Box on an Image
import cv2
output = image.copy()
cv2.rectangle(output, (2600, 800), (4100, 2400), (0, 255, 255), 10)
viewImage(output, "Doggo with a rectangle on his face")
The rectangle function takes 5 parameters:
- The first parameter is the image.
- The second parameter is x1, y1 — Top Left Corner.
- The third parameter is x2, y2 — Bottom Right Corner.
- The fourth parameter is the rectangle color (GBR/RGB, depending on how you imported your image).
- The fifth parameter is the rectangle line thickness.
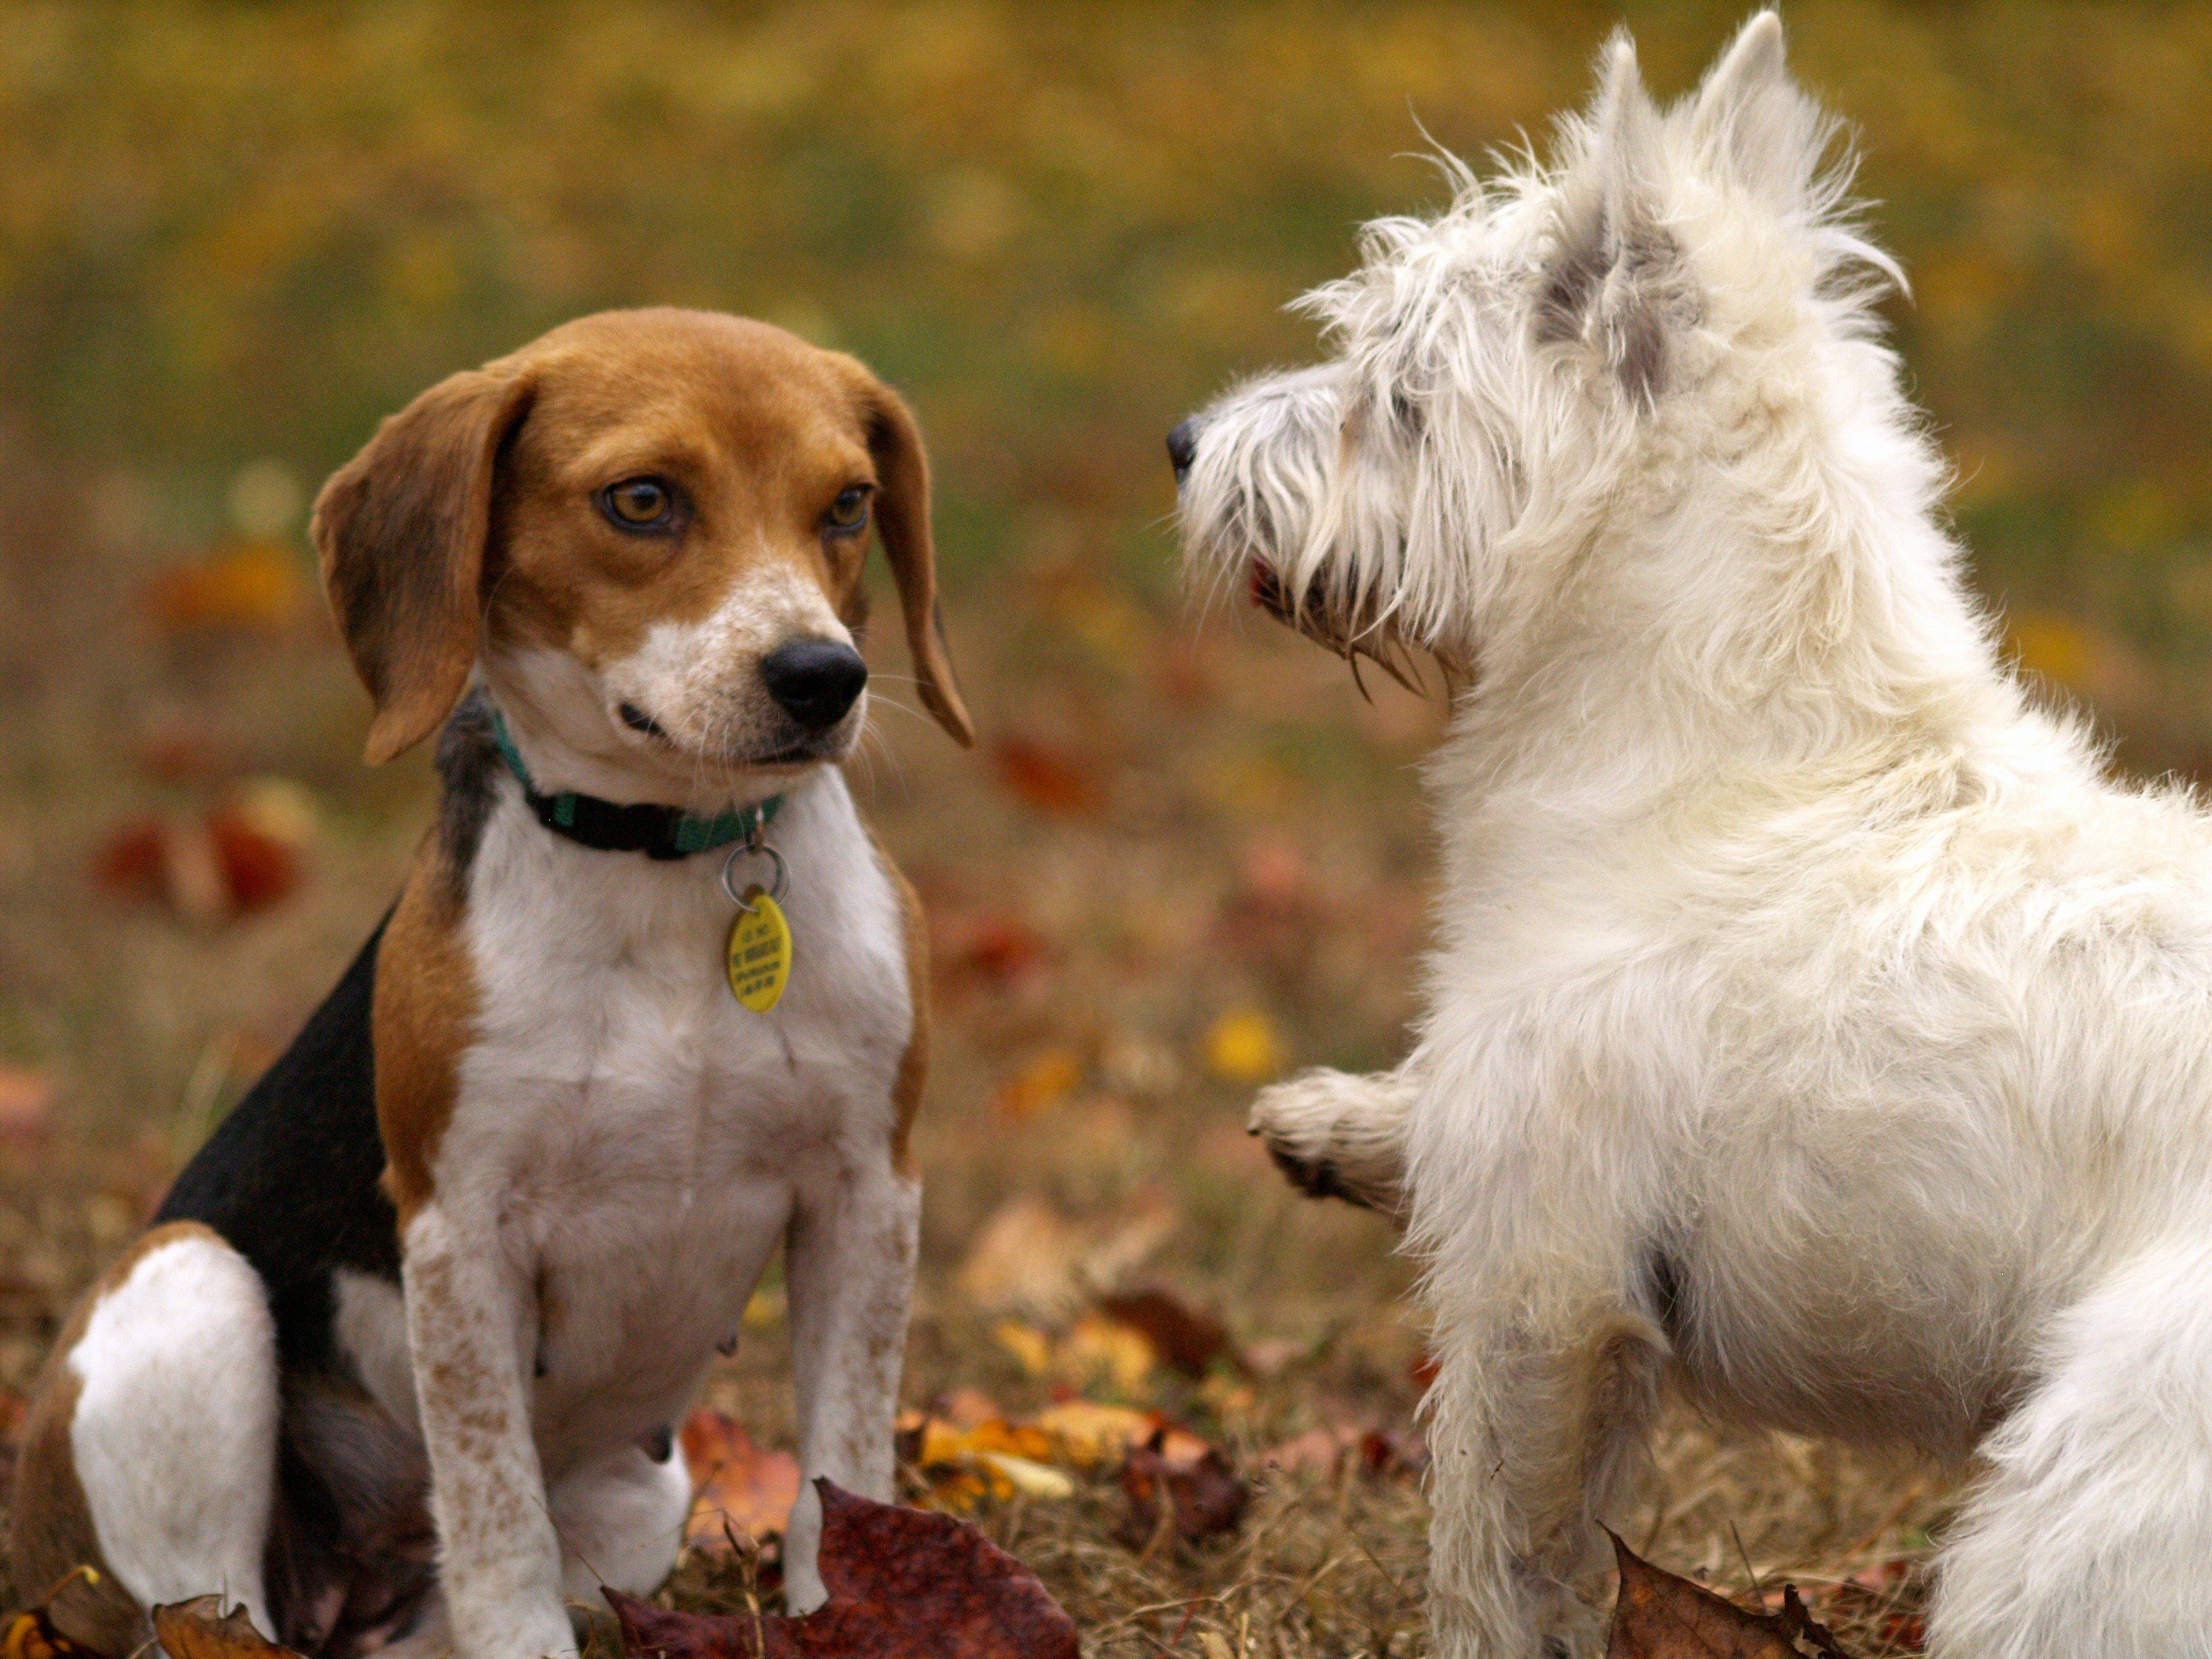
Drawing a line

import cv2
output = image.copy()
cv2.line(output, (60, 20), (400, 200), (0, 0, 255), 5)
viewImage(output, "2 Doggos separated by a line")
The line function takes 5 parameters
- The first parameter is the image you want to draw a line on.
- The second parameter is x1, y1.
- The third parameter is x2, y2.
- The fourth parameter is the line color (GBR/RGB depending on how you imported your image).
- The fifth parameter is the line thickness.
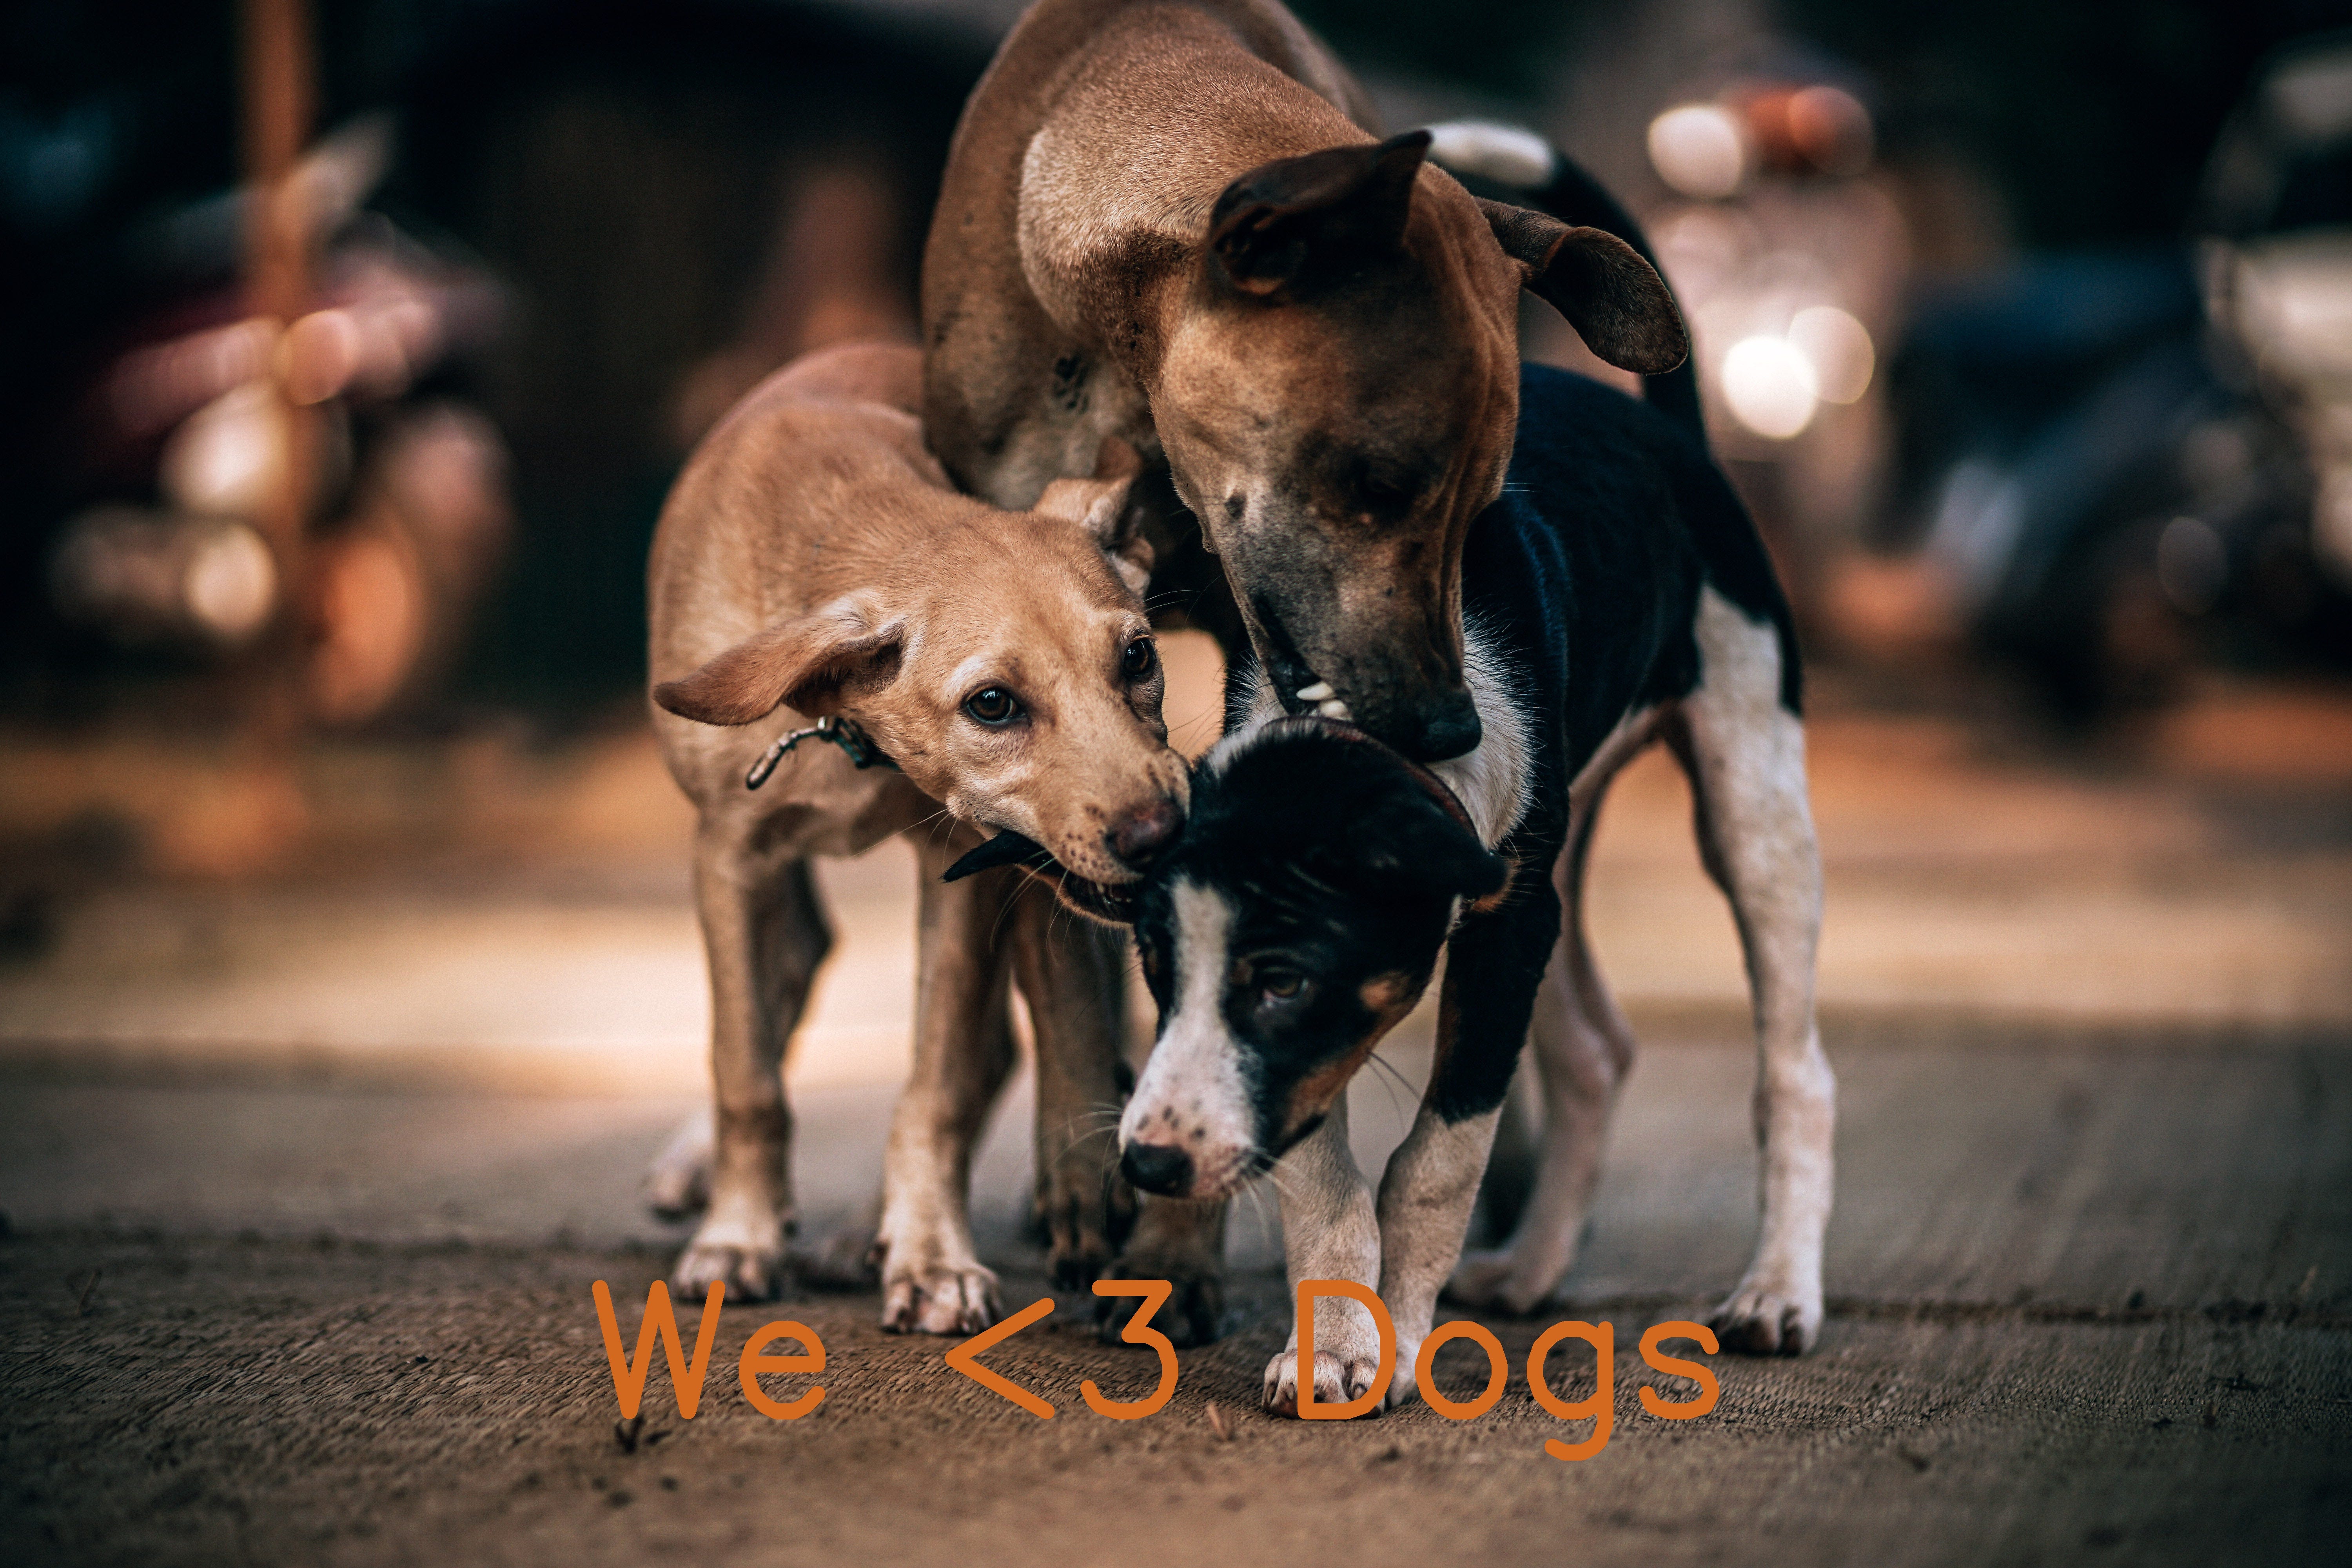
Writing on an image
import cv2
output = image.copy()
cv2.putText(output, "We <3 Dogs", (1500, 3600),cv2.FONT_HERSHEY_SIMPLEX, 15, (30, 105, 210), 40)
viewImage(output, "image with text")
The putText function takes 7 parameters
- The first parameter is the image you want to write on.
- The second parameter is the text itself.
- The third parameter is the x, y—the bottom left coordinate where the text starts.
- The fourth parameter is the font type.
- The fifth parameter is the font size.
- The sixth parameter is the color (GBR/RGB depending on how you imported your image).
- The seventh parameter is the thickness of the text.
Face Detection
Can’t have dog pictures here, sadly 🙁
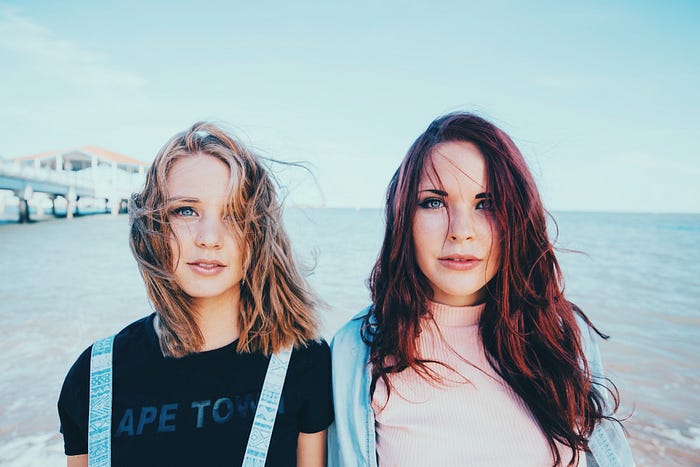
import cv2image_path = "./Path/To/Photo.extension"
face_cascade = cv2.CascadeClassifier('haarcascade_frontalface_default.xml')image = cv2.imread(image_path)
gray = cv2.cvtColor(image, cv2.COLOR_BGR2GRAY)
faces = face_cascade.detectMultiScale(
    gray,
    scaleFactor= 1.1,
    minNeighbors= 5,
    minSize=(10, 10)
)faces_detected = format(len(faces)) + " faces detected!"
print(faces_detected)# Draw a rectangle around the faces
for (x, y, w, h) in faces:
    cv2.rectangle(image, (x, y), (x+w, y+h), (255, 255, 0), 2)viewImage(image,faces_detected)
The detectMultiScale function is a general function that detects objects. Since we’re calling it on the face cascade, that’s what it detects.
The detectMultiScale function takes 4 parameters
- The first parameter is the grayscale image.
- The second parameter is the
scaleFactor. Since some faces may be closer to the camera, they would appear bigger than the faces in the back. The scale factor compensates for this. - The detection algorithm uses a moving window to detect objects.
minNeighborsdefines how many objects are detected near the current one before it declares the face found. minSize, meanwhile, gives the size of each window.

Contours—A method for Object Detection
Using color-based image segmentation, you can detect objects.
cv2.findContours & cv2.drawContours are two functions that help you with that.
Recently, I’ve written a very detailed articled called Object detection via color-based image segmentation using Python. Everything you need to know about contours is there.
Finally, Saving the image
import cv2
image = cv2.imread("./Import/path.extension")
cv2.imwrite("./Export/Path.extension", image)
To Conclude
OpenCV is a library full of great easy-to-use algorithms that can be used in 3D modeling, advanced image & video editing, tracking an identifying objects in videos, classifying people who are doing a certain action in videos, finding similar images from a dataset of images, and much more.
The bottom line is that learning OpenCV is crucial for people who want to take part in machine learning projects that are image-related.
